Manage Chains
Estimated time to read: 5 minutes
This guide will show you how to handle the list of chains that your app users can use to sign blockchain transactions.
Arcana Auth SDK works with all EVM-compatible blockchain networks and selected non-EVM chains.
Only a subset of all the supported chains is available as the pre-configured list displayed in the Arcana Developer Dashboard. Developers can use and tweak this pre-configured list and control which chains are available out of the box in the Arcana wallet UI once a user logs into the app integrated with the Arcana Auth SDK. Ethereum is selected as the active chain in the list by default. Developers can change the active chain that shows up as the selected chain in the wallet UI.
Developers can programmatically add supported chains and issue blockchain transactions in the app seeking the user's approval. Authenticated users can also add any supported blockchain network that is not already displayed in the Arcana wallet UI. User-made changes to the wallet chain list are effective only for the current session. However, any additional supported chains added to this pre-configured list by the app developer are always available to the wallet users.
Prerequisites
-
Make sure you can access the Arcana Developer Dashboard: https://dashboard.arcana.network
-
The app must be registered using the Arcana Developer Dashboard.
Follow these steps to manage the list of pre-configured chains displayed in the in-app Arcana wallet.
1: Dashboard Log-in
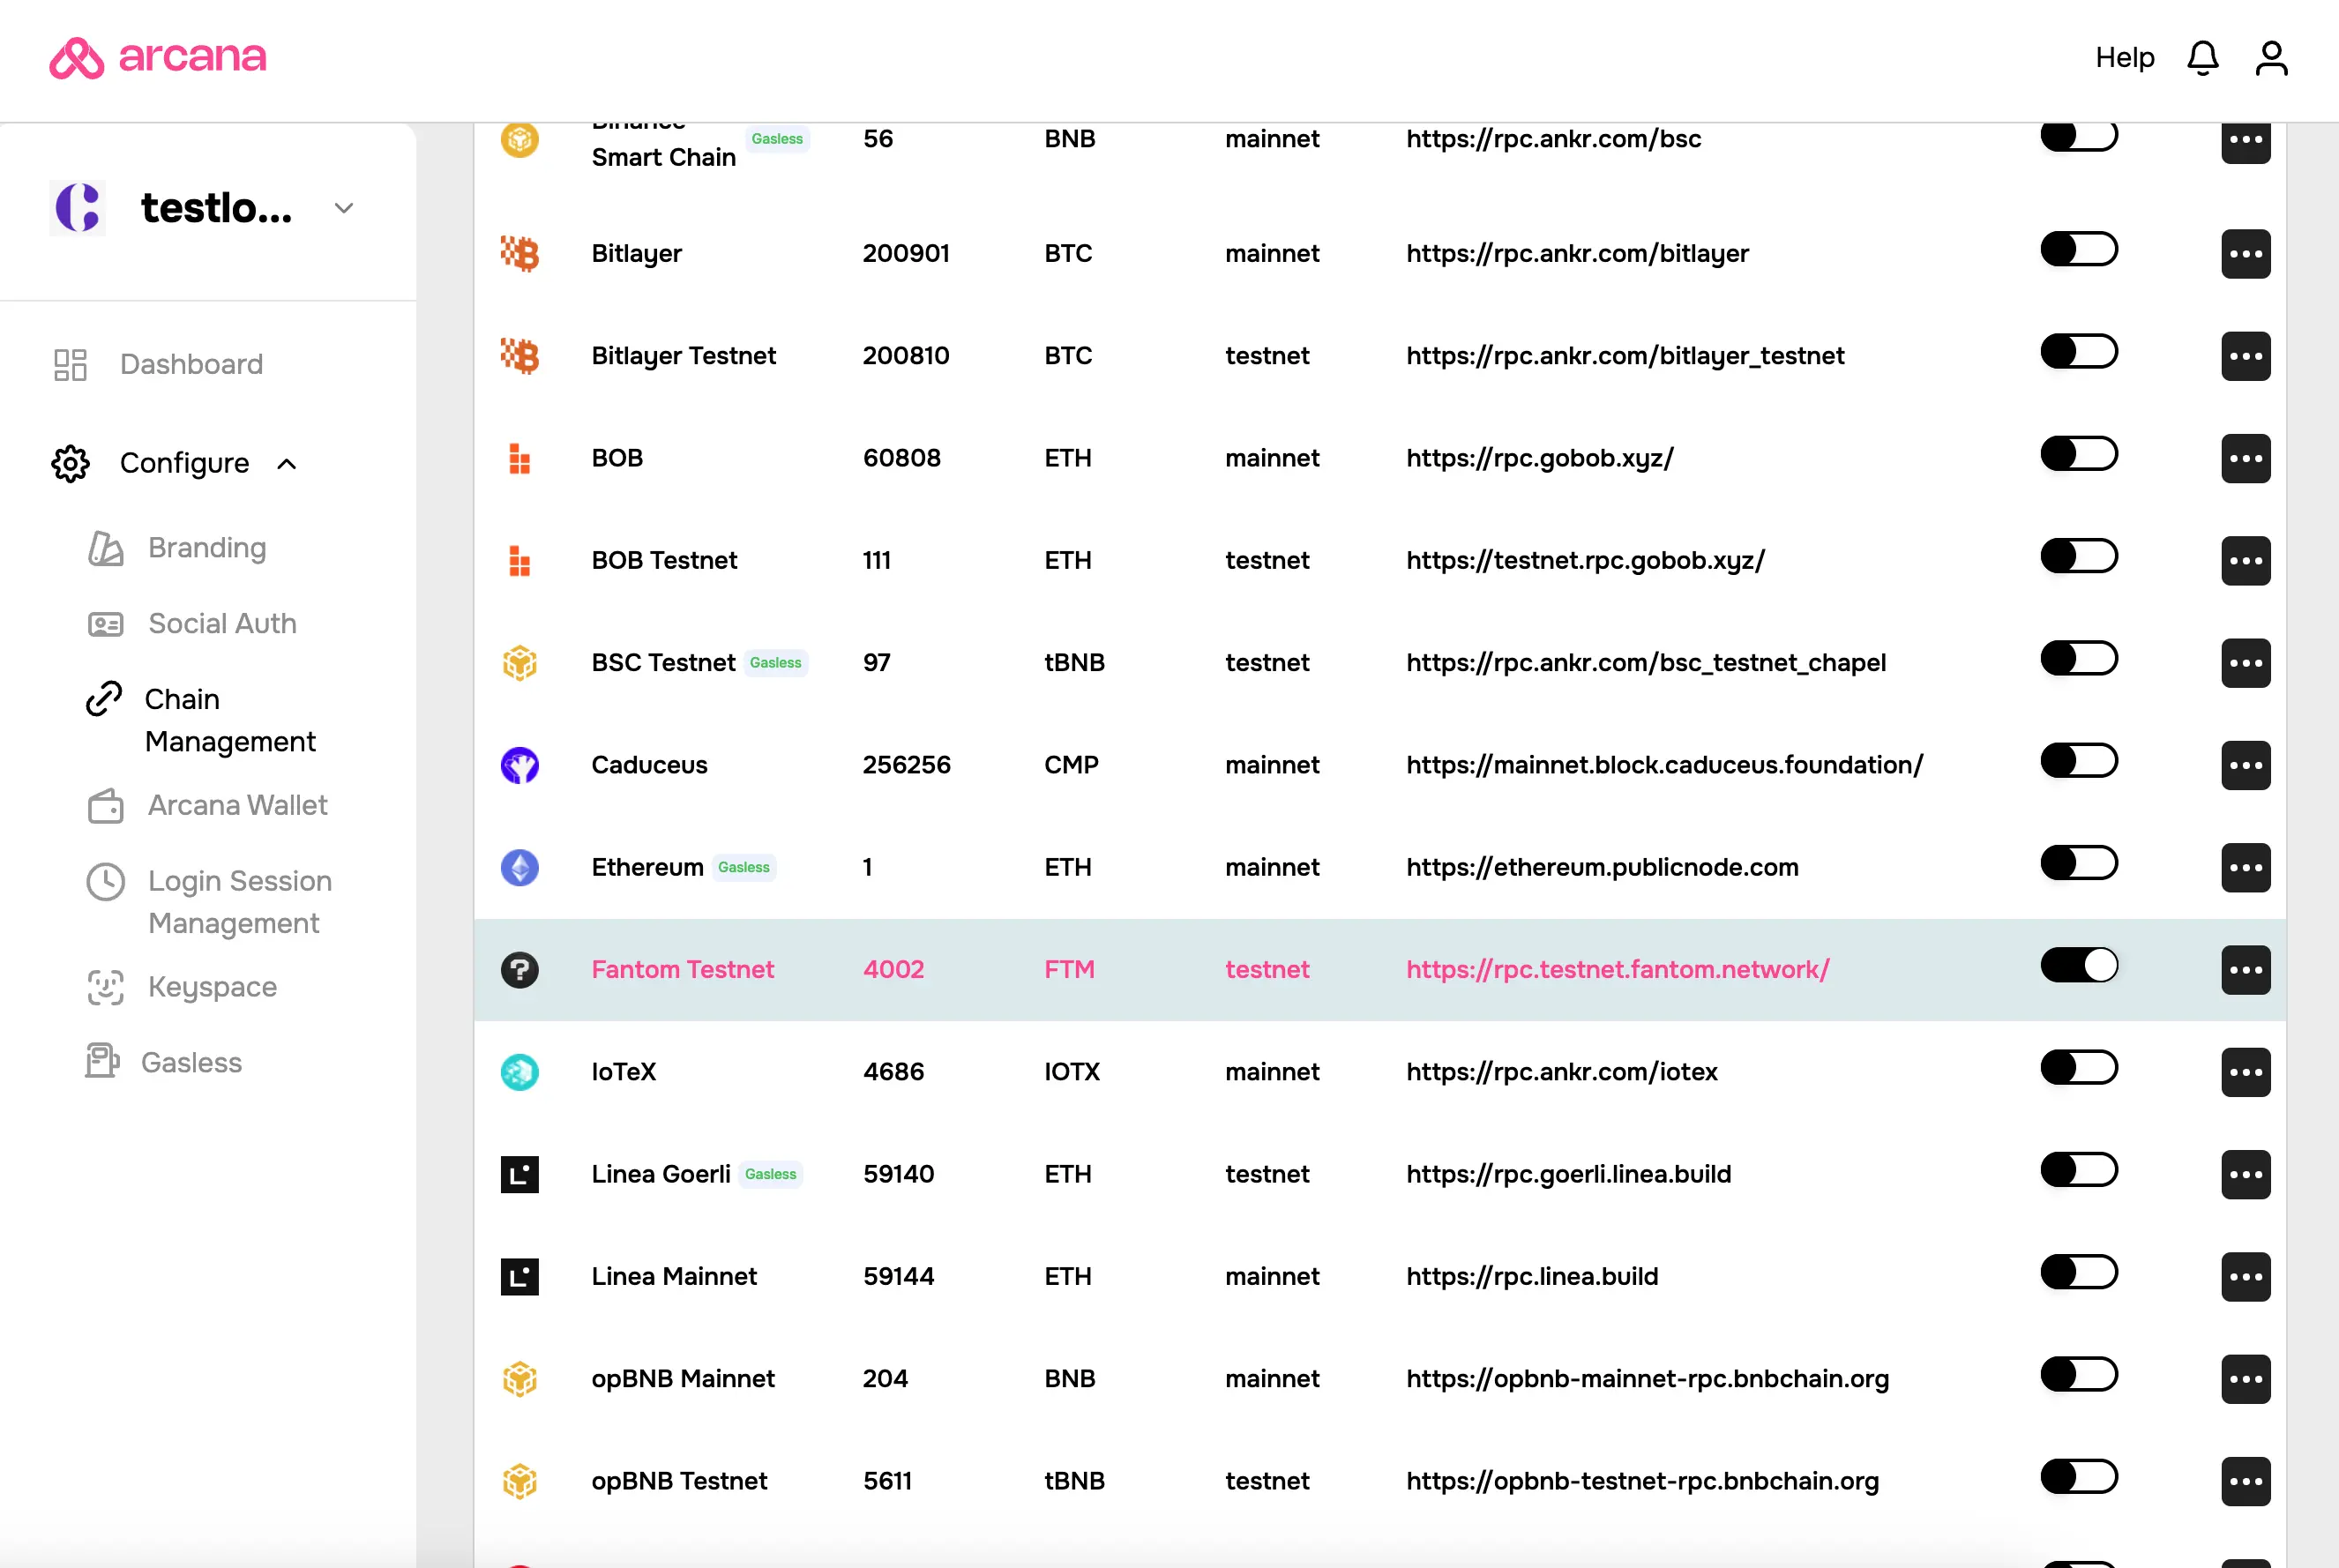
Log in to the Arcana Developer Dashboard and click your registered app entry from the 'Manage Apps' screen. Click Configure in the LHS navigation area. Select Chain Management to configure the default subset of supported chains.
The chain configuration UI is displayed:
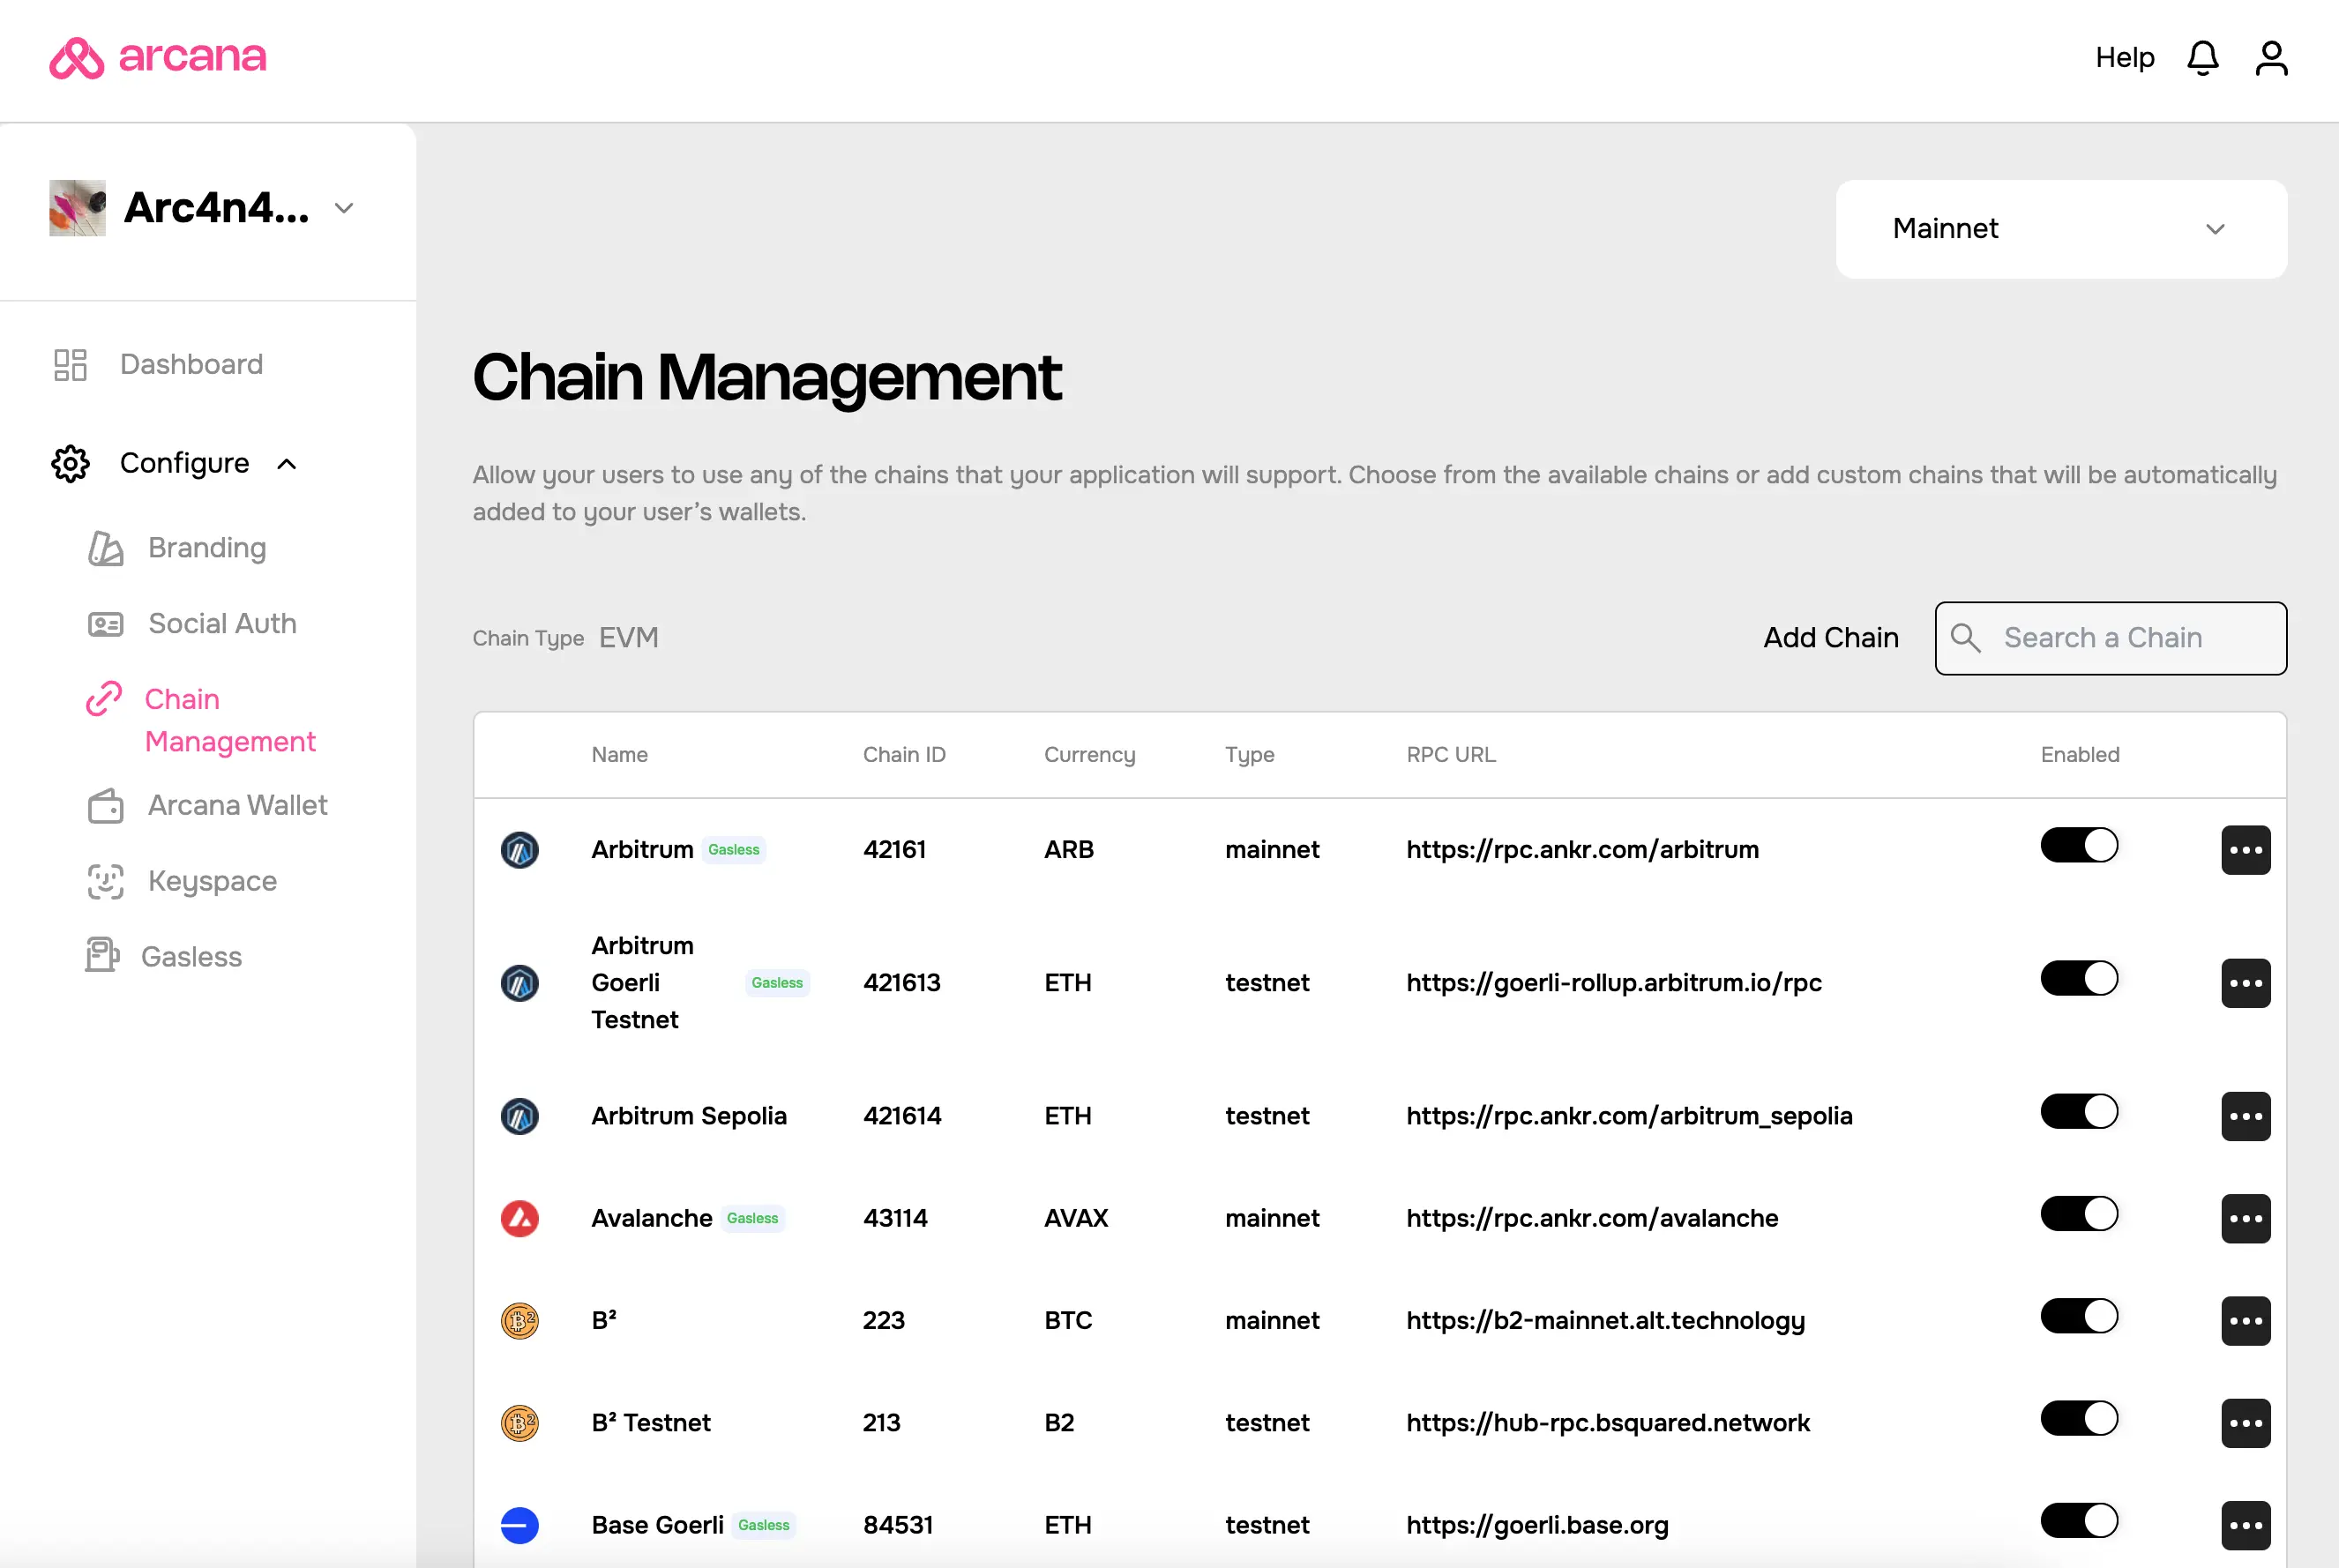
2: Review Chain Settings
Developers can enable either EVM chains or non-EVM chains in the context of a Web3 app integrated with Arcana Auth SDK. The chain type selection is a one-time setting during app registration and cannot be reconfigured later. While reviewing chains, you can see whether the app is configured to use EVM chains or only the non-EVM chains.
EVM Chains
Browse the EVM chains displayed in the pre-configured list of chains in the dashboard. Select the active chain. The chain marked active is displayed as the pre-selected chain in the wallet UI once the user logs in.

Developers can add other EVM chains to the out-of-the-box, pre-configured list. This list governs the list of chains available and displayed in the Arcana wallet UI for the authenticated users. By default, for non-EVM chain type, Ethereum is set as the active chain.
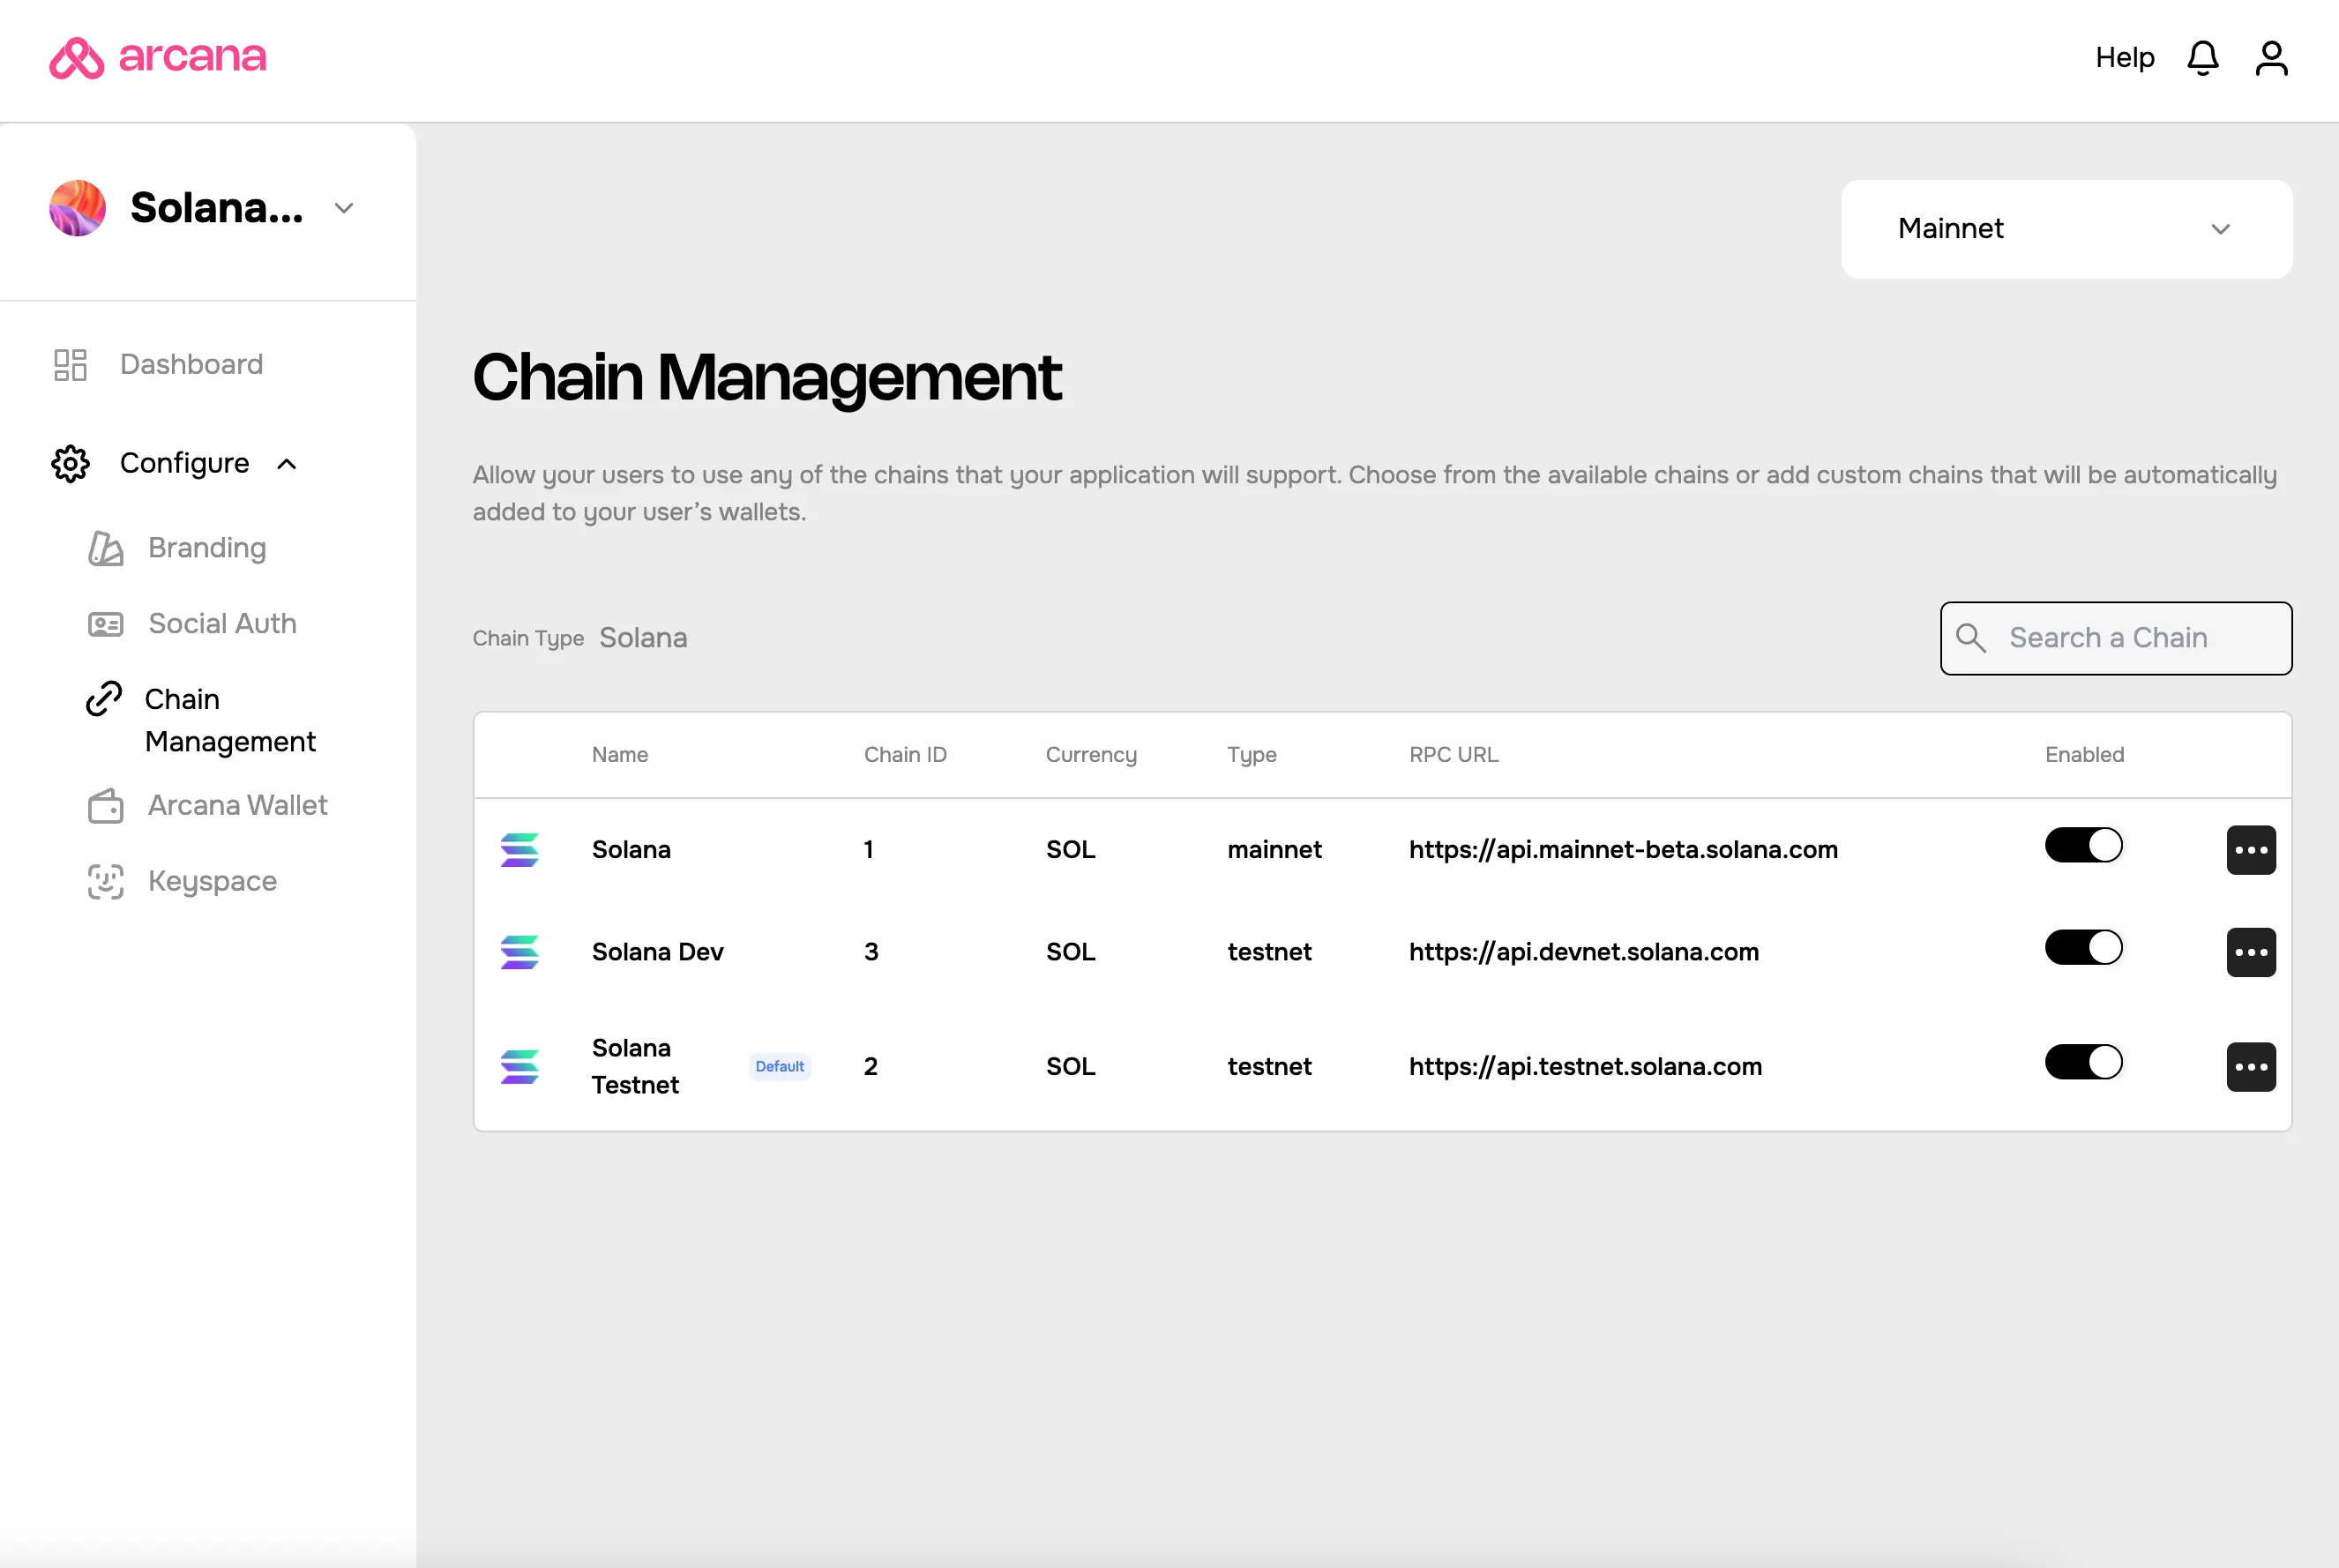
Non-EVM Chains
The following non-EVM chains are supported and displayed in the list of pre-configured chains in the Arcana Developer Dashboard.
- Solana
- MultiversX
- Near
The selection of non-EVM or EVM chain types for an app is made at the time of app registration. Only the chains belonging to the selected non-EVM chain type are available in the pre-configured list of chains displayed in the dashboard.
The Testnet is selected as the default chain. Developers can change the default chain to say the 'Dev' network or the Mainnet. If the 'EVM' chain type is selected during the app registration, then the developer or wallet user can switch the active app chain from one EVM chain to another at a later point in time. However, the same is not possible across EVM and non-EVM chains or between two non-EVM chain types.
Once an app is registered for a non-EVM chain, the default active chain can be switched to one of the networks available for that particular chain type. For example, if Solana is selected as the chain type, then only the following network options are available: Solana, Solana Testnet, Solana Dev.
Solana
See how to set up Solana and Solana Quick Start Guide for more details.
MultiversX
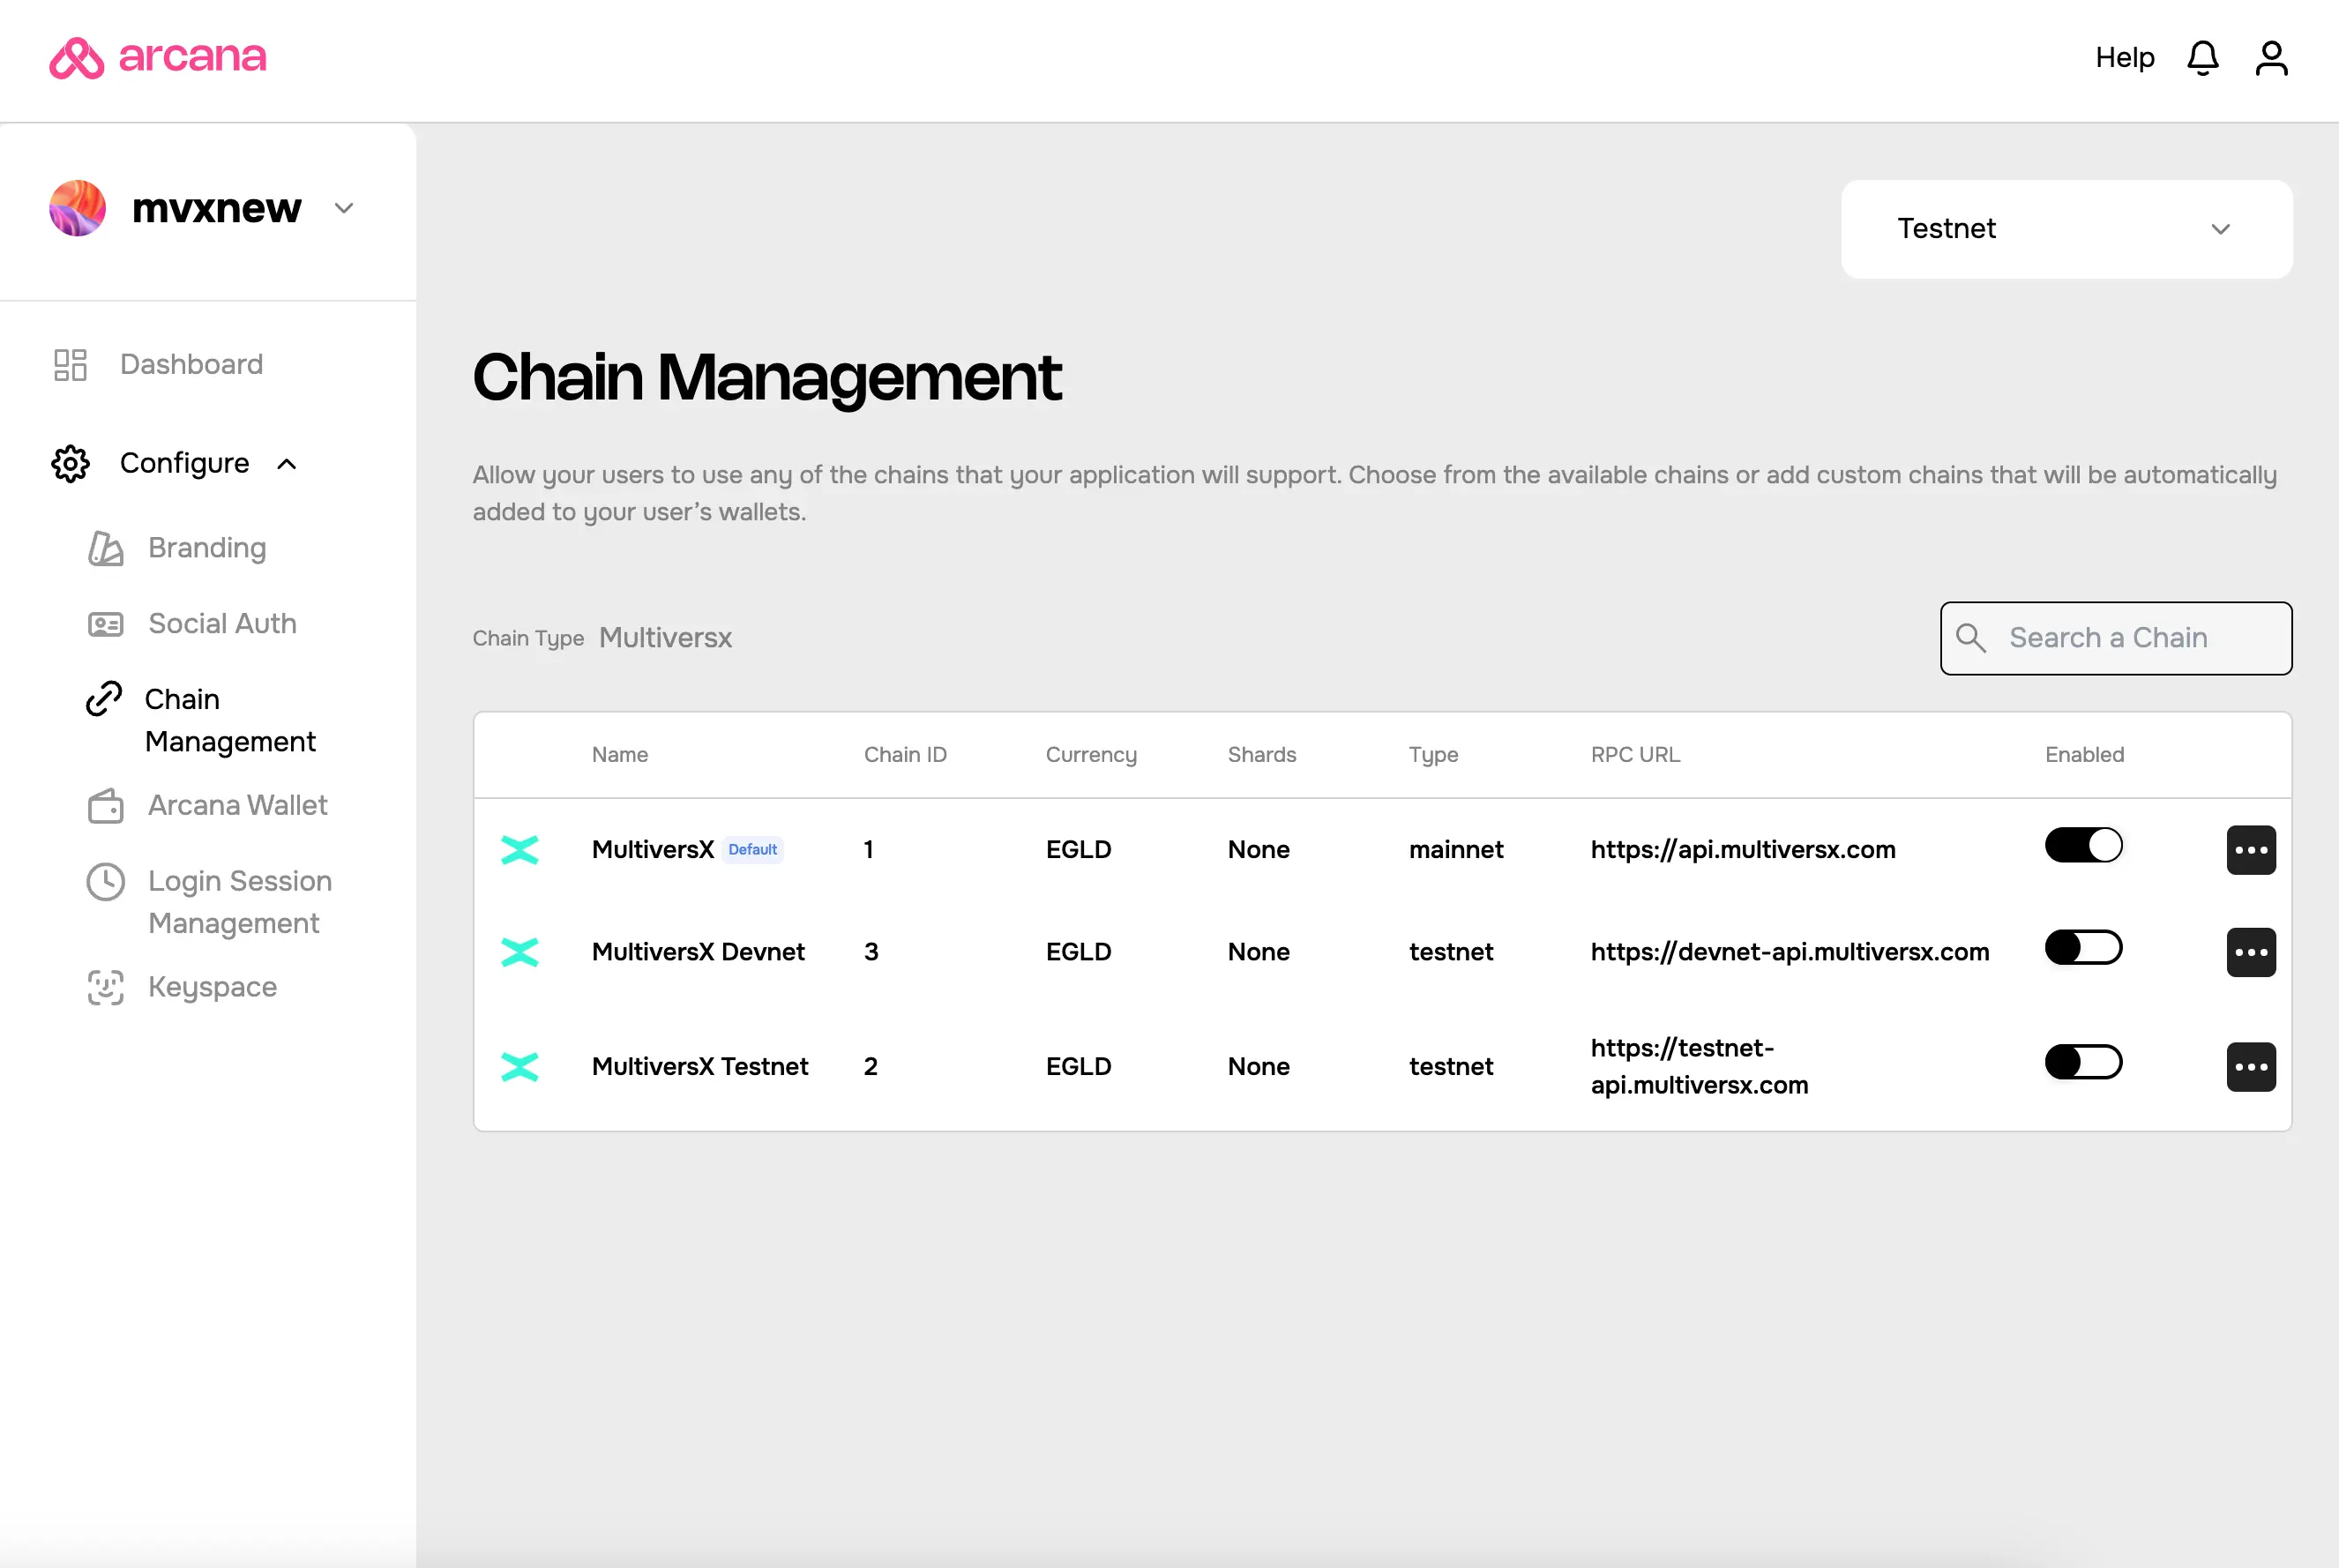
See how to set up MultiversX and MultiversX Quick Start Guide for more details.
Near
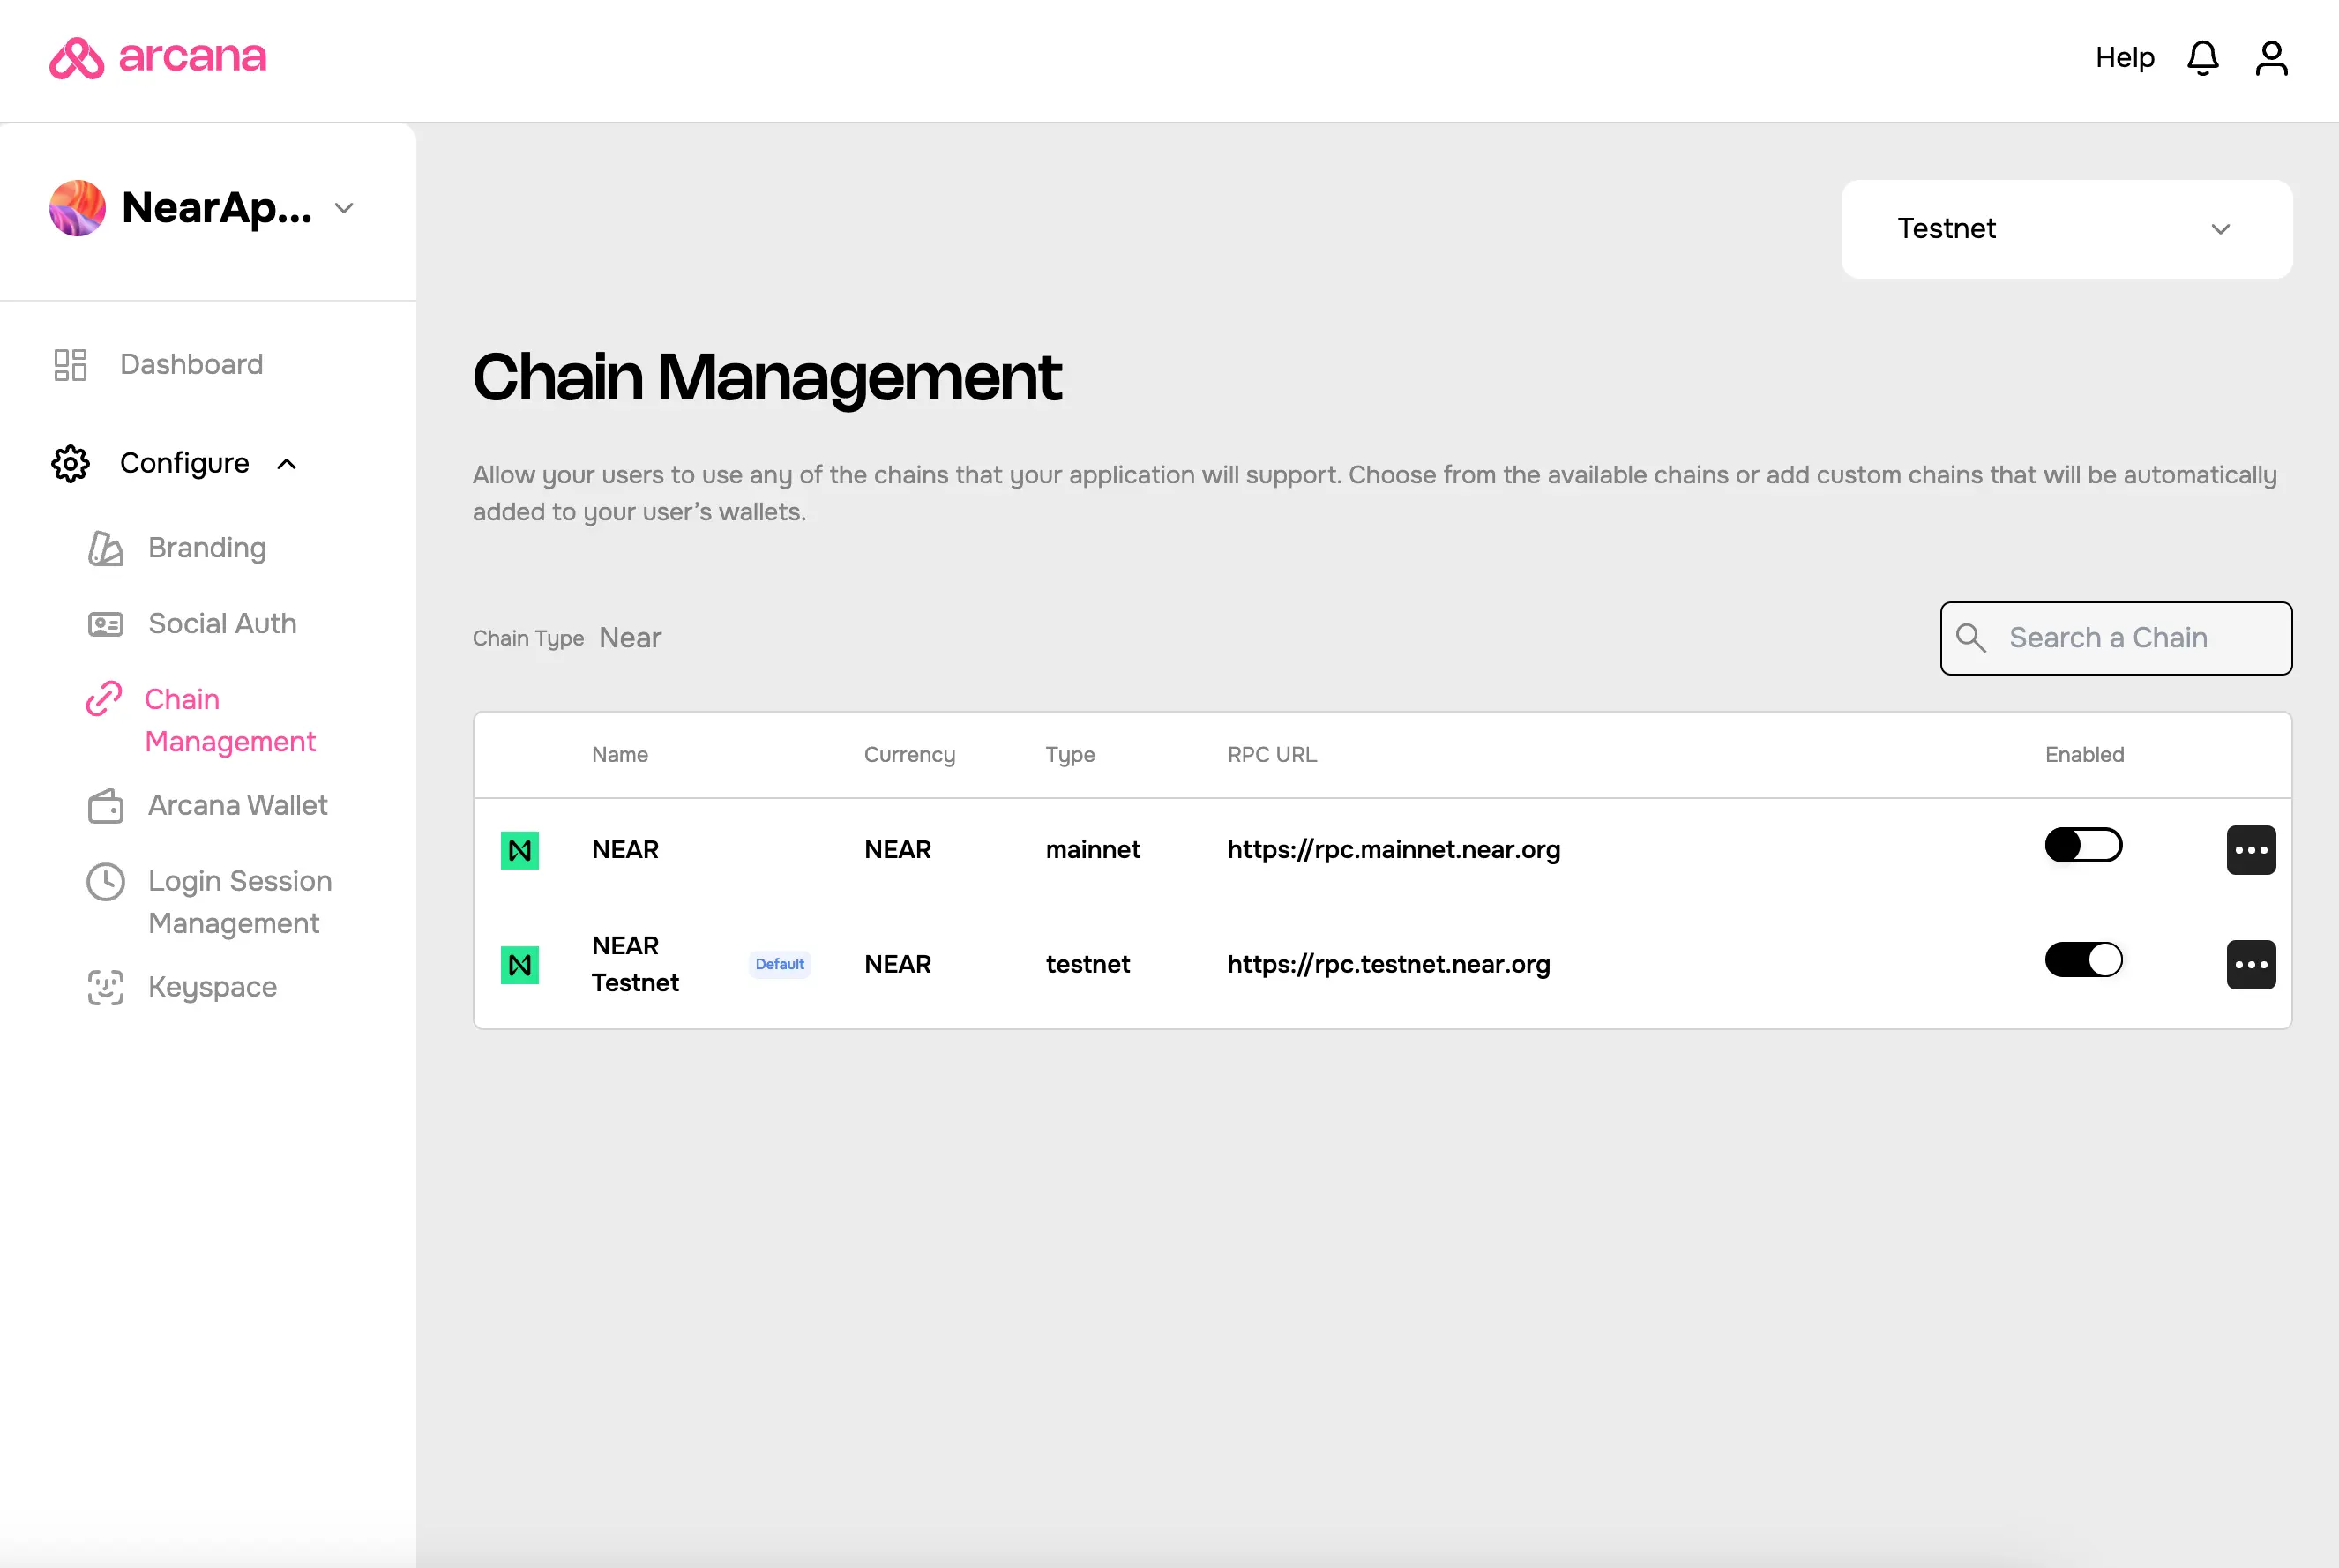
See how to set up Near and Near Quick Start Guide for more details.
3: Default Active Chain
When a user logs into the wallet, the default active chain is selected. To switch to a different default chain, select the new chain in the Arcana Developer Dashboard, click "..." ellipses and choose 'set as default' option. The figure below illustrates Polygon as the default active chain.
Non-EVM Chains
If the chain type selected during app registration is a non-EVM chain type, then you will not see any EVM-compatible chains displayed in the dashboard.
Once a non-EVM chain type is selected, developers can further choose one as the default active chain from amongst the network options displayed in the dashboard for that chain type.
4: Add Chain
EVM Chains
Click the Add Chain button on the top right of the 'Chain Management' dashboard screen. Any newly added chain is automatically set as the default chain displayed in the wallet UI.
To add a blockchain, specify the following details and click Save.
- Network Name
- Chain Id
- Currency Symbol
- RPC URL
- Block Explorer URL
- Testnet/Mainnet Chain Type
Once you click Save, the newly added chain will be displayed in the dashboard and also shown in the wallet UI once a user logs into the app.
Non-EVM Chains
In the current release, only some selected non-EVM chains, such as Solana, MultiversX, and Near are supported and available in the pre-configured chain list. Other non-EVM chains will be supported in the upcoming releases.
Developers cannot arbitrarily add any other non-EVM chains to this pre-configured list of chains, either through the dashboard or programmatically.
To learn more about the list of supported chains, see supported blockchains.
That's all!
What's Next?
Besides managing the pre-configured list of chains via the Arcana Developer Dashboard configuration settings, a developer can also add other supported EVM-compatible chains programmatically to the wallet via the wallet_addEthereumChain method. To do that, the app must be integrated with the Arcana Auth SDK and the AuthProvider initialized before calling any of the SDK functions.
For details refer to the Arcana Auth SDK Usage Guide.
See also
- Arcana Auth SDK Errors
- Arcana Auth SDK Usage Guide
- Configure Solana Chains
- Configure MultiversX Chains
- Configure Near Chains
- Arcana Auth SDK Reference