Skip to content

Quick Start: Vue Apps

Already using Arcana Auth SDK?

Use the latest Arcana Auth SDK release: v1.0.8.

To upgrade Arcana Auth SDK v1.0.7 -> v1.0.8, see the Migration Guide. For versions older than Arcana Auth SDK v1.0.7, be aware of potential breaking changes that may require app reconfiguration and code updates. Check the Migration Guides and Release Notes for specifics.

Overview

To implement Arcana Auth in a 'Vue' app, start by registering your app and configuring usage settings through Arcana Developer Dashboard. After that, install Arcana Auth SDK, integrate it with your app, and initialize the AuthProvider. Add code to facilitate user onboarding. Finally, deploy your app on the Testnet or Mainnet. Authenticated users can instantly access the built-in, non-custodial, embedded Arcana wallet and sign blockchain transactions.

uth Usage Overview Auth Usage Overview

Step 1: Register & Configure App

To register and configure your app, create a new entry for your app by logging into the Arcana Developer Dashboard:

https://dashboard.arcana.network

Save the unique Client ID assigned to the app after registration. It will be required when you integrate the app with the Arcana Auth SDK. Also, configure the Arcana Auth product usage by specifying branding, setting up authentication providers, managing blockchains displayed in the wallet, and other settings as required.

See how to register and configure app using the Arcana Developer Dashboard for details.

After registering and configuring the app, install the Arcana Auth SDK.

Step 2: Install SDK

For 'Vue' app, install the auth package.

npm

npm install --save @arcana/auth

yarn

yarn add @arcana/auth

CDN

<script src="https://cdn.jsdelivr.net/npm/@arcana/auth"></script>
<script src="https://unpkg.com/@arcana/auth"></script>

Watch Auth Releases

Get notified about newer auth releases by watching the auth GitHub repository.

Next, integrate the app with the Arcana Auth SDK by instantiating and calling the requisite AuthProvider functions.

Step 3: Integrate App

First import AuthProvider from the auth package.

const { AuthProvider } = window.arcana.auth // From CDN
//or
import { AuthProvider } from '@arcana/auth' //From npm

Create a new AuthProvider, specify the unique Client ID obtained earlier during app registration.

const auth = new AuthProvider(
  "xar_test_445007f942xxxxxxxxxxxxxxxxxx484cAfd2", // App client ID
  { 
    position: 'left',         // default: right
    theme: 'light',           // default: dark
    alwaysVisible: false,     // default: true, wallet always visible
    setWindowProvider: true,  // default: false, window.ethereum not set
    connectOptions: {
      compact: true           // default: false, regular plug-and-play login UI
    },
    chainConfig: {
      chainId: '137',                    // defaults to Ethereum
      rpcUrl: 'https://polygon-rpc.com', // defaults to 'https://rpc.ankr.com/eth'
    },
})

After creating, make sure you initialize the newly instantiated AuthProvider.

try {
  await auth.init()
} catch (e) {
  // Handle exception case
}

Initialize First!

The app must use await until the init() call is complete, before invoking any of the other Arcana Auth SDK functions.

AuthProvider Optional Parameters

You can optionally customize the following settings in the AuthProvider constructor:


alwaysVisible: Arcana wallet visibility mode - always visible in the app context or only if a blockchain transaction is triggered by the app

chainConfig: use chainId to specify the chain identifier for the active chain in the wallet and rpcUrl for specifying the RPC Url for that chain identifier

position: wallet position within the app context - left|right

theme: wallet theme - light|dark
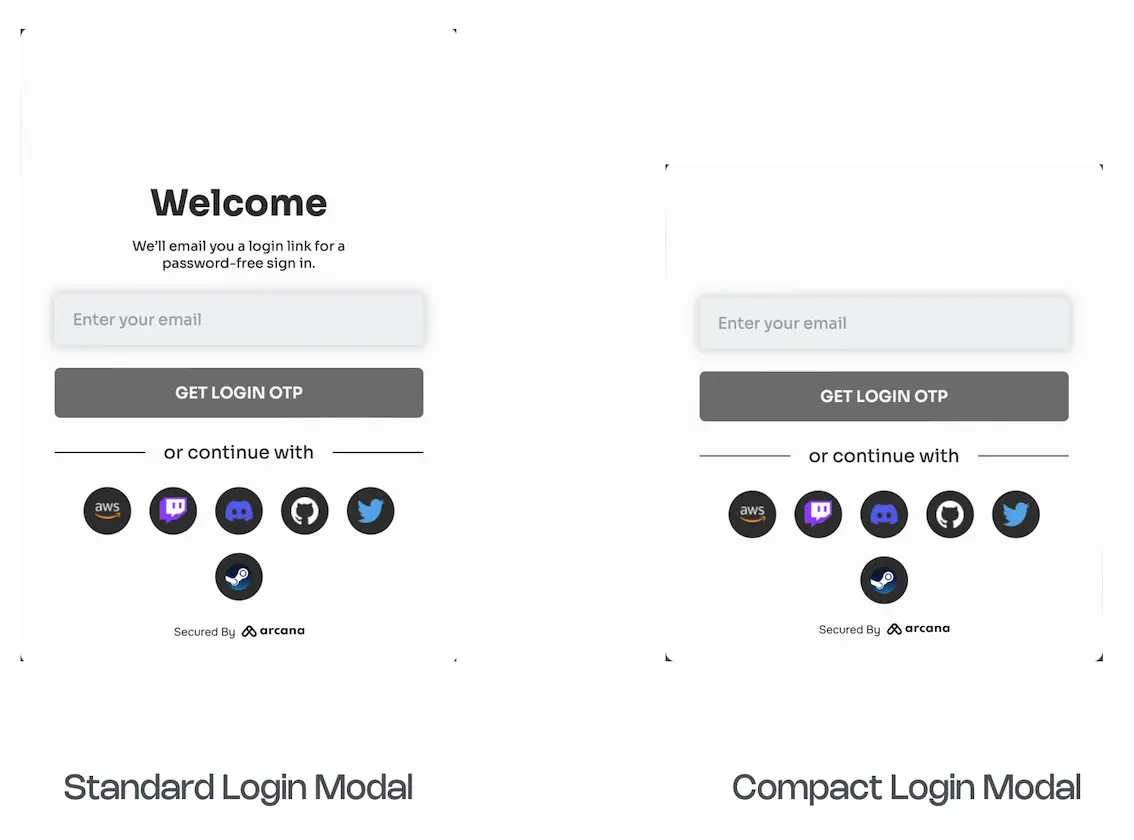
setWindowProvider: set window.ethereum in the app context with the standard EIP-1193 Ethereum provider value

connectOptions: built-in login UI compact mode - true|false


See AuthProvider constructor parameters for details.

After initializing the AuthProvider, you can call any of its exported functions. For example, the code below shows how to access the standard EIP-1193 Ethereum provider:

When using the ethers or web3js libraries in a Web3 app, you can access the standard EIP-1193 Ethereum provider:

// ethers
const provider = new ethers.providers.Web3Provider(auth.provider)

// web3js
const provider = new Web3(auth.provider)

Next, add code to facilitate user onboarding in the app.

Step 4: Onboard Users

The built-in, plug-and-play login UI is enabled by default. To use it, just add a single line of code in the app, call the connect function of the AuthProvider.

await auth.connect();

This will bring up the login modal displaying the onboarding options configured for the app in addition to the passwordless option.

Plug-and-Play Login UI

Compact Login UI

You can choose to use a compact form of the built-in login UI modal instead of the regular one.

Standard vs. Compact UI login modal

No plug-and-play support for Firebase authentication.

The plug and play feature of the Arcana Auth product is not supported for Firebase. Developers must build a custom login UI and add code to onboard users. For details, see onboarding users via Firebase and custom login UI

Custom Login UI

You can onboard users through a custom login UI instead of the built-in plug-and-play one. See how to use custom login UI for onboarding users in a 'Vue' app for details.

For sample code and details on how to onboard users in a 'Vue' app via a custom login UI, see how to enable configured providers when using a custom login UI.

Arcana JWT Token

Upon successful authentication, Arcana Auth SDK returns a unique JWT token to the app called the Arcana JWT Token. App developers can use this token to verify user login and subsequently generate another token for app use. Learn more about how to verify the Arcana JWT Token for apps deployed on Testnet and Mainnet.

That's all!!!

Your 'Vue' app is now powered by Arcana Auth.

Authenticated users can log in and instantly access a Web3 wallet from within the app's context.

Next Steps

After adding code to onboard users, you can optionally use the standard JSON RPC Web3 wallet operations supported by the AuthProvider. See how to enable Web3 operations using the Arcana wallet for details.

Manage the user experience for signing blockchain transactions by selecting the default, built-in Arcana wallet UI and tinkering with the wallet visibility or replacing the built-in wallet with a custom wallet UI.

To learn how to deploy the app on Testnet/Mainnet, see App Deployment Guide.

Examples

For a sample 'Vue' app that integrates with the Arcana Auth SDK, refer to 'sample-auth-vue' in the GitHub repo: Auth Examples.

See Also

Product Release Details

Check the latest Arcana Auth product release notes and refer to the latest Arcana Auth SDK release available here.


Last update: December 1, 2023 by shalz