Twitch Setup
Estimated time to read: 3 minutes
Configuring Twitch for apps using global keys differs from apps using app-specific keys.
Prerequisites
-
Log in to the Arcana Developer Dashboard: https://dashboard.arcana.network
-
Register the app by creating a new app entry in the dashboard.
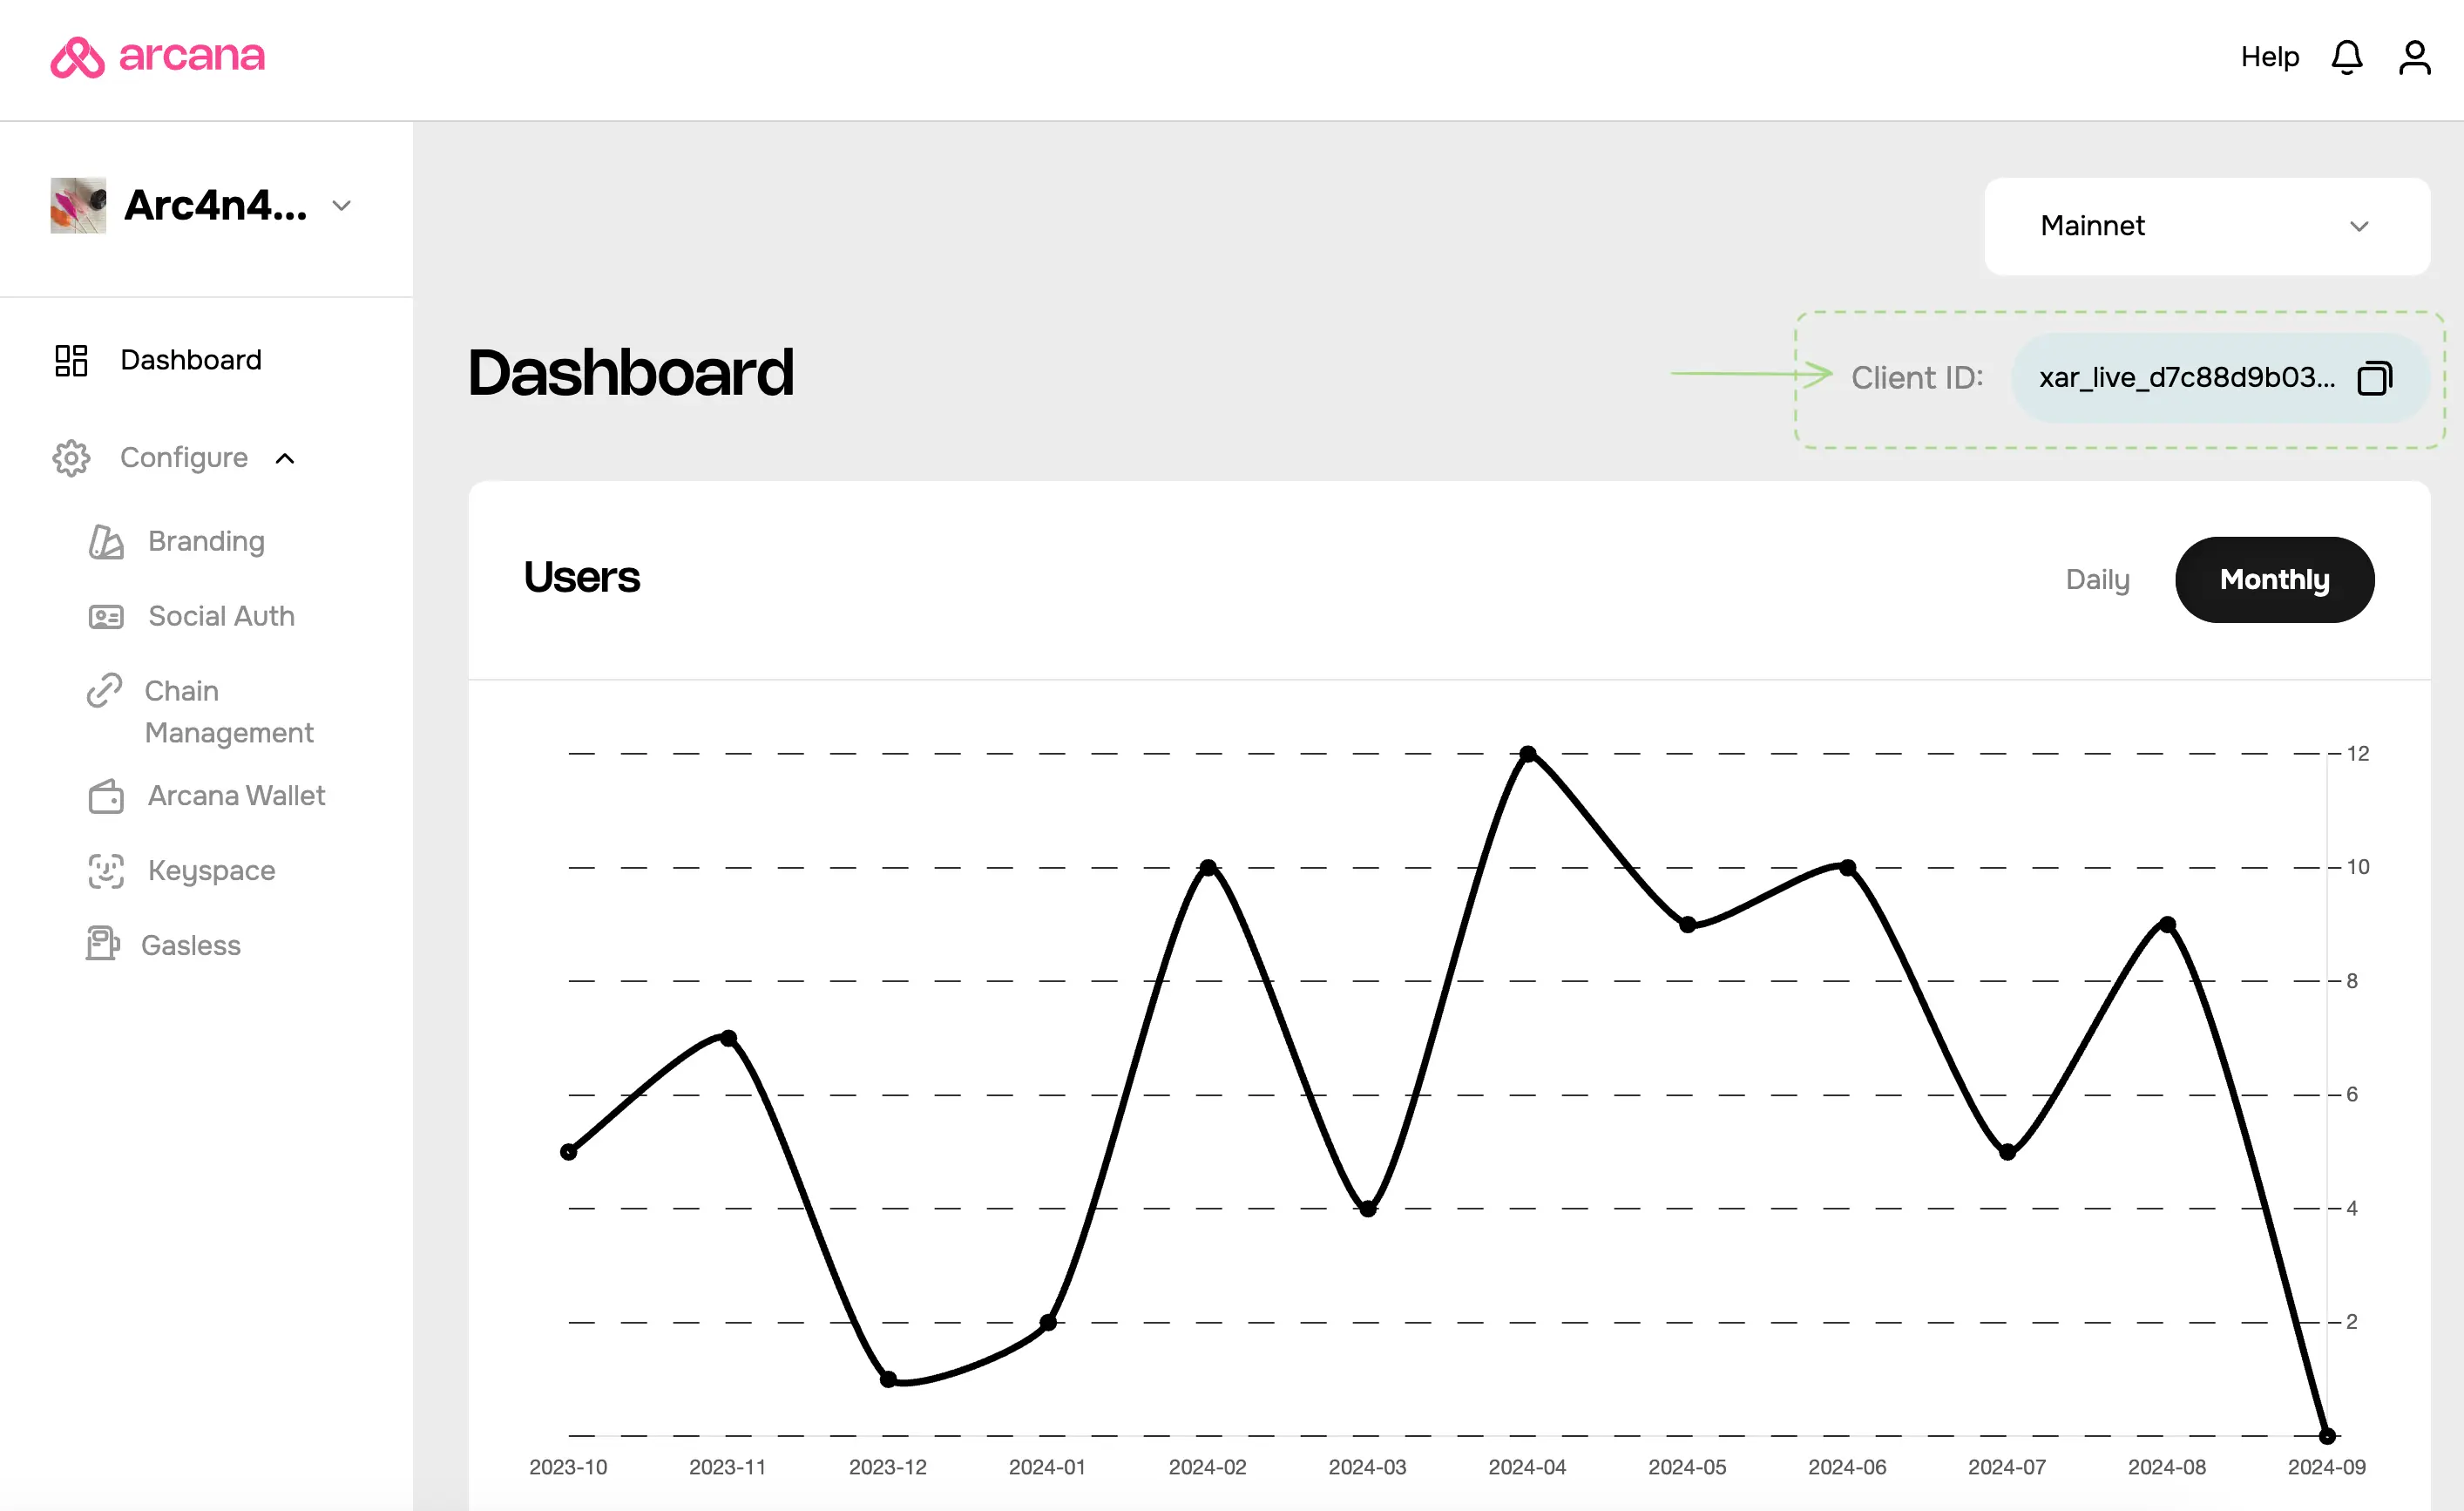
Client ID
A default Testnet configuration profile is associated with every registered app. A unique Client ID is assigned for the Testnet profile. Only passwordless login is enabled by default.
A newly registered app can be deployed at the Arcana Testnet. Developers must create a Mainnet configuration profile to deploy it on the Mainnet. A new, unique Client ID is assigned to the Mainnet profile.
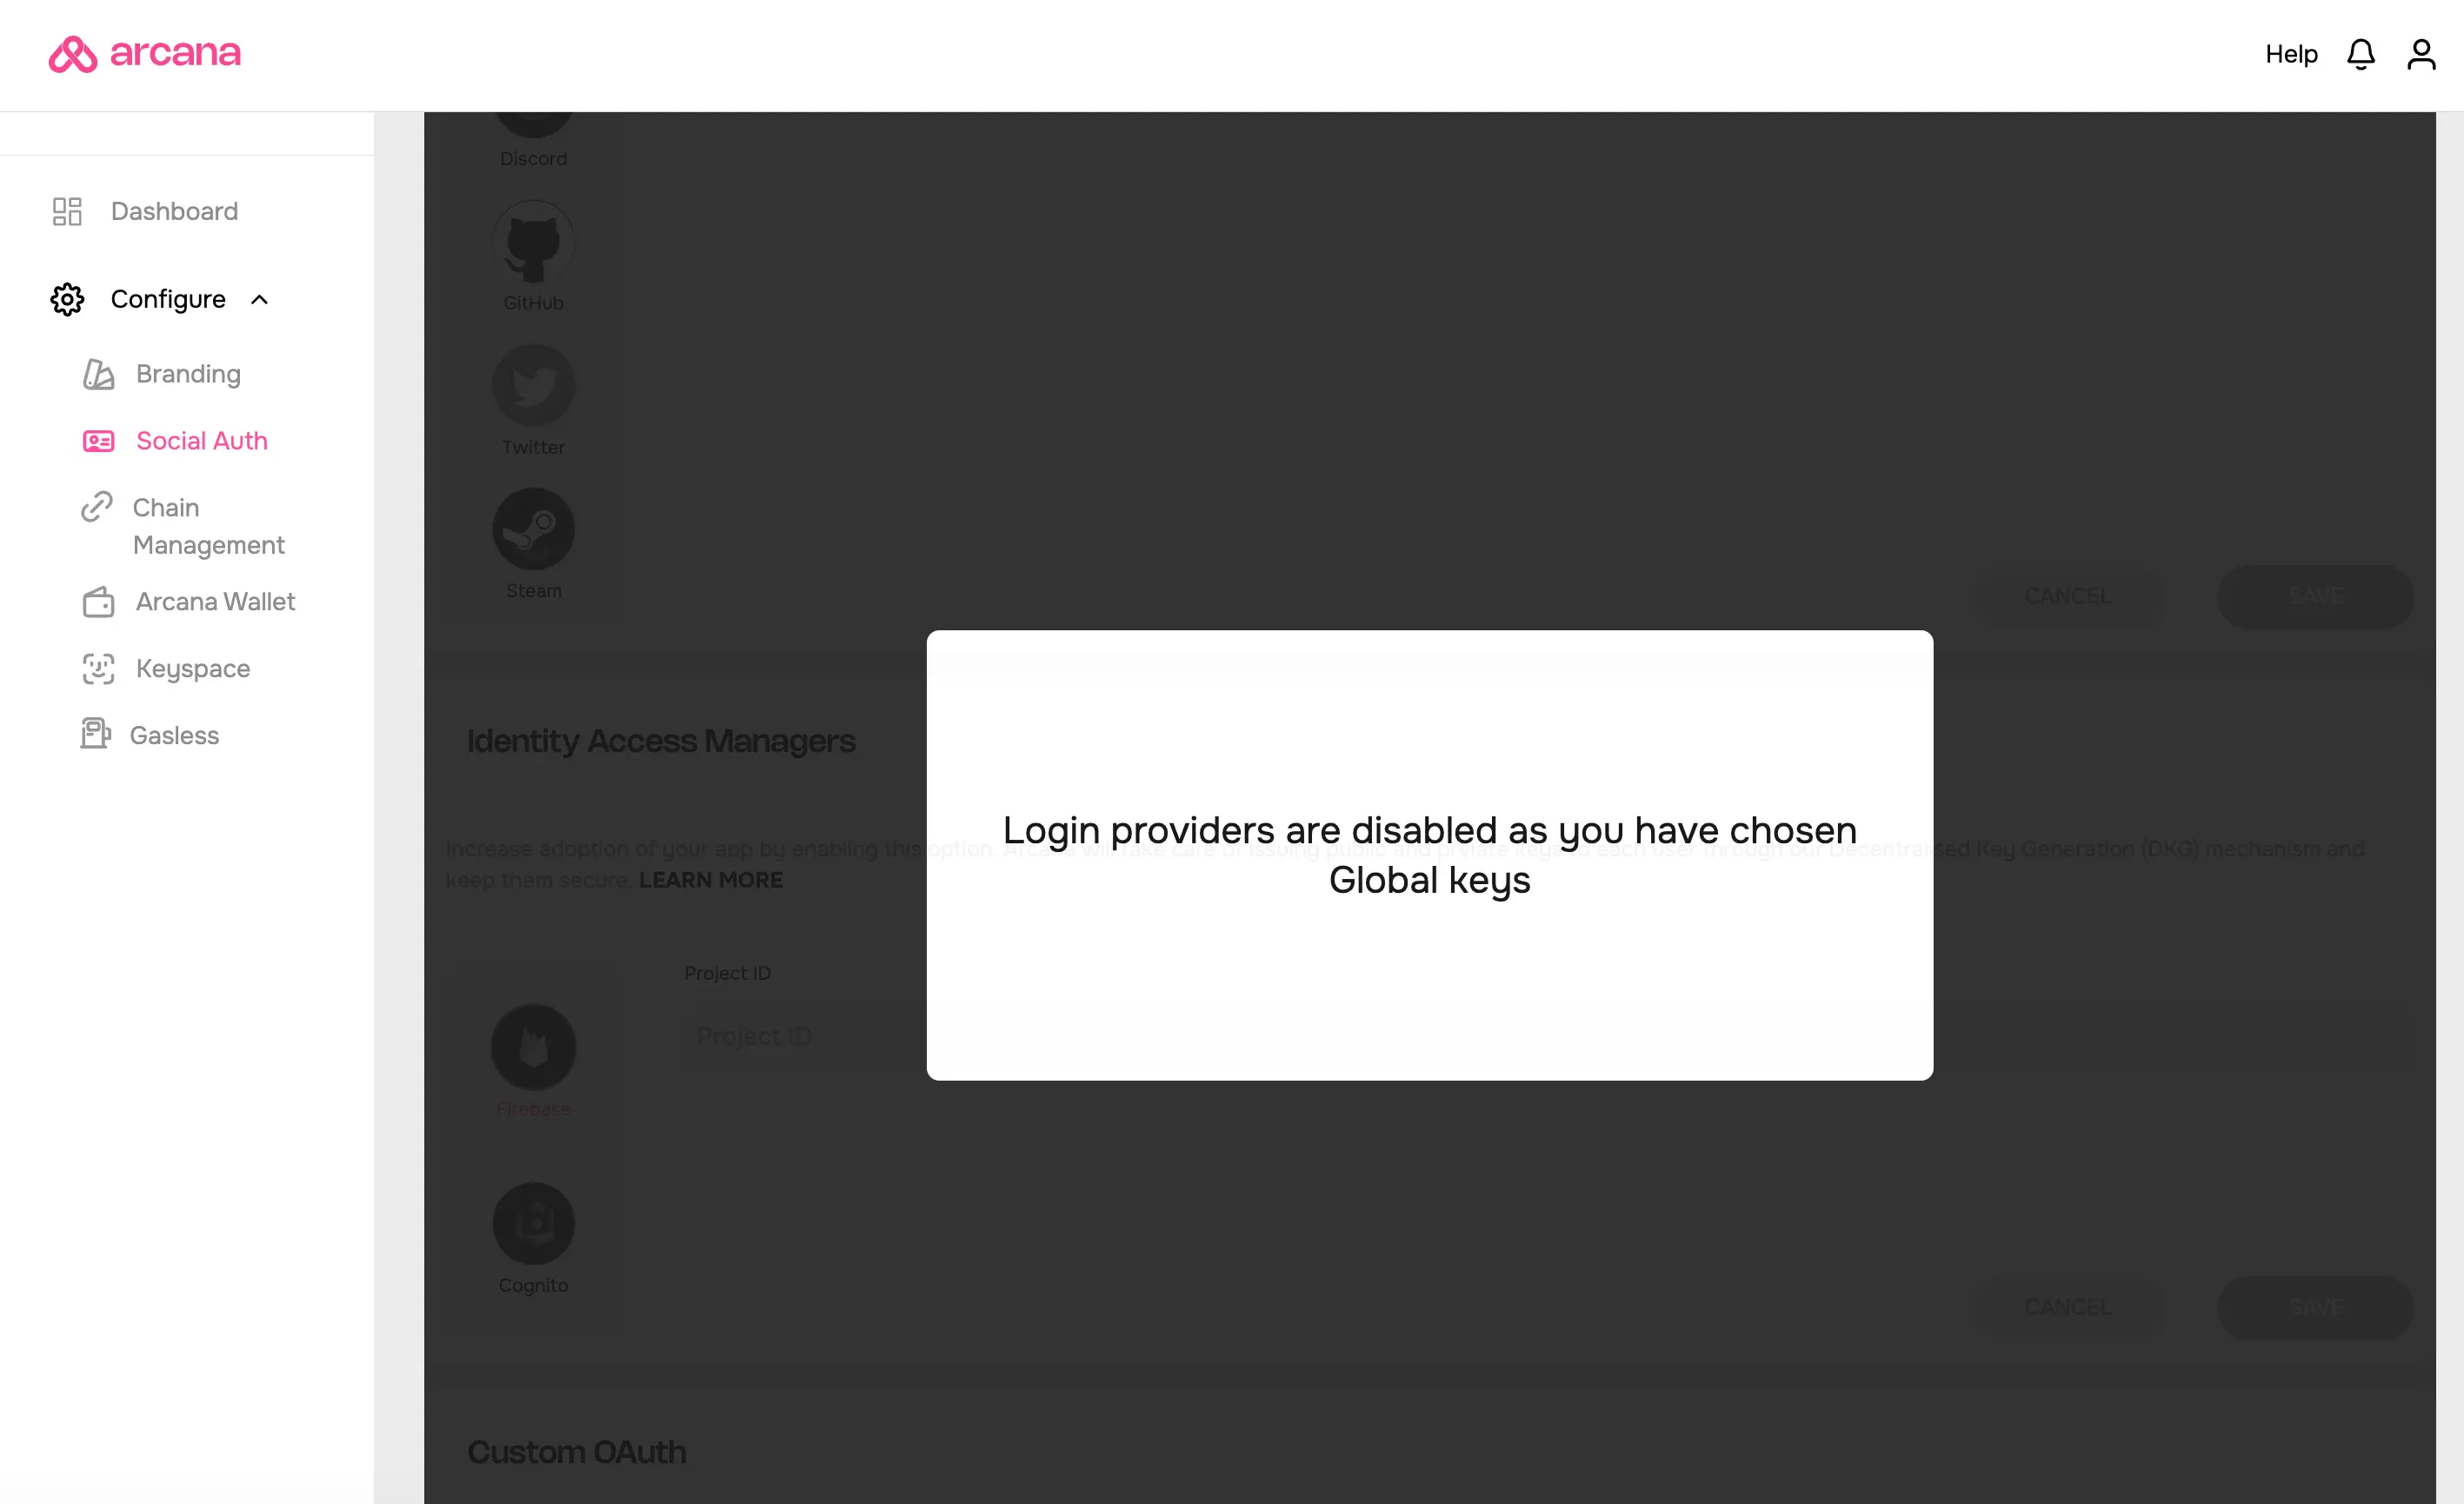
Global Keys
Apps that require global keys feature do not need to configure the Social Auth settings in the Arcana Developer Dashboard.
User onboarding via Twitch is automatically turned on for the app when global keys are enabled.
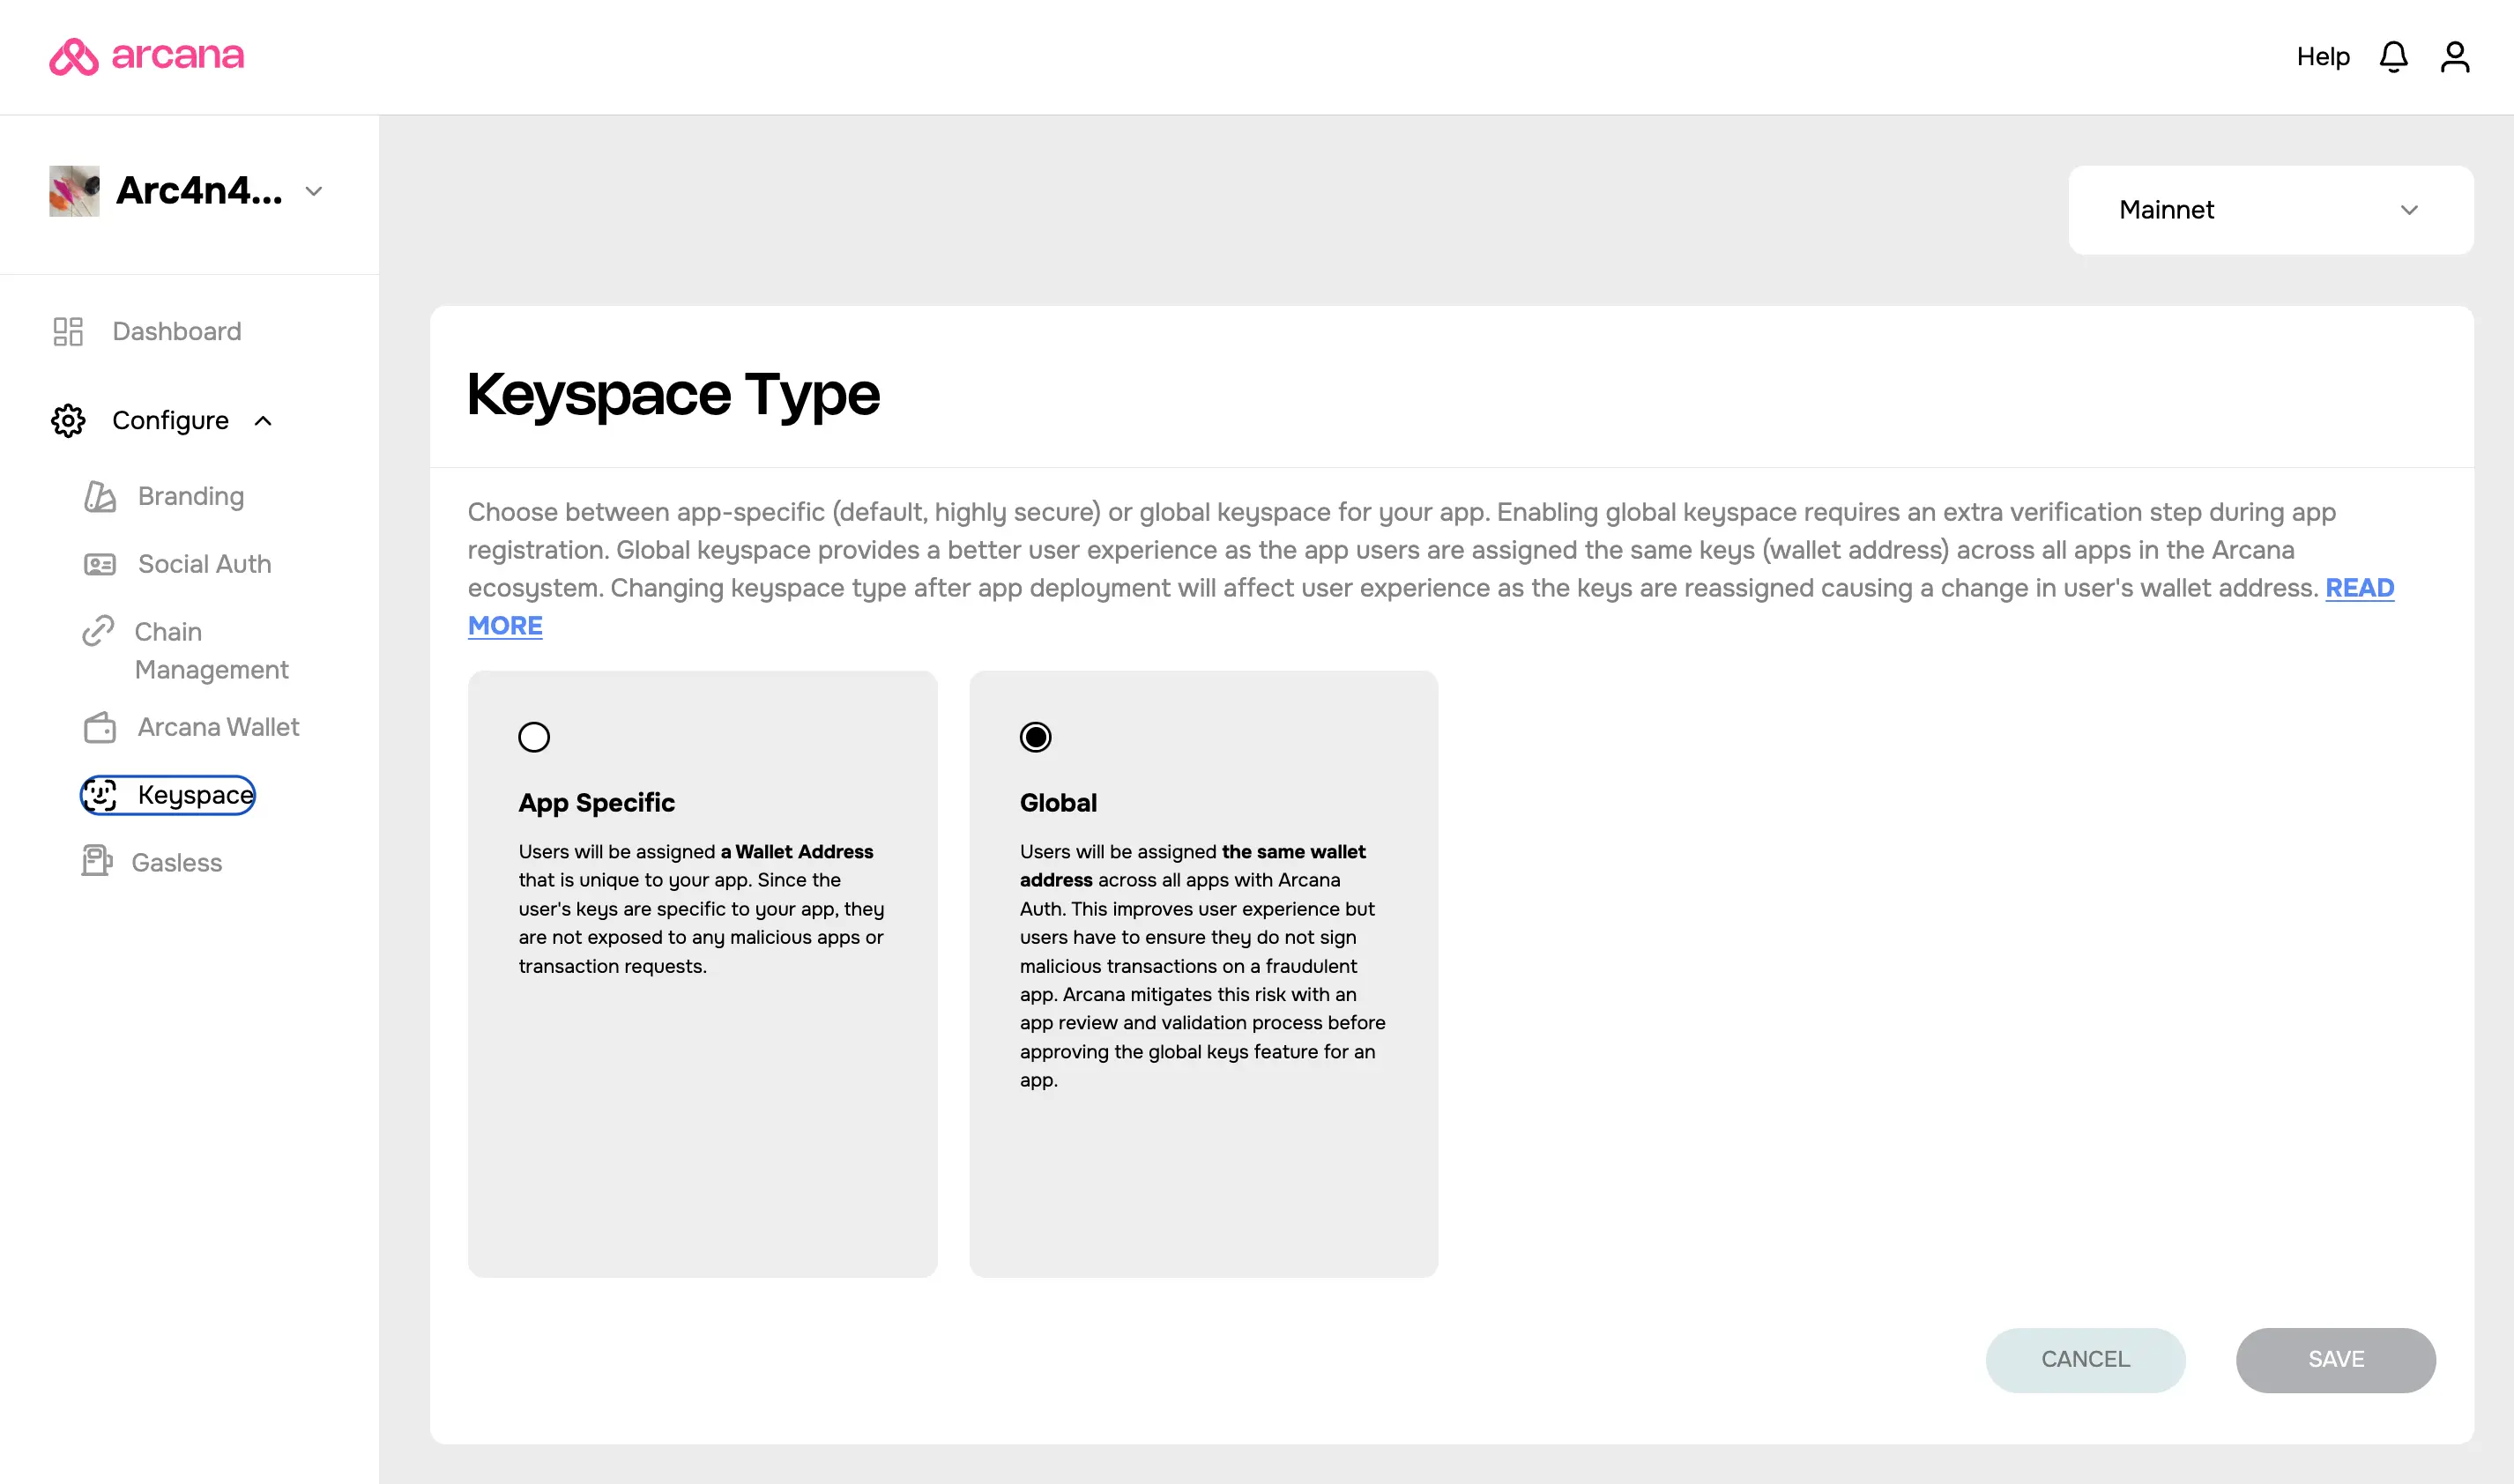
Global Keys Configuration Change
In the earlier versions of the Arcana Auth SDK, apps using global keys were required to configure Social Auth settings for the providers. This behavior has changed in the latest release of the Arcana Auth SDK.
If an app was configured for any social login providers and switches over from app-specific to global keyspace later, the Social Auth settings will be disabled altogether.
App-specific Keys
Follow these steps to configure the Social Auth settings and enable user onboarding via Twitch. It requires developers to use the Arcana Developer Dashboard and the Twitch Developer Dashboard.
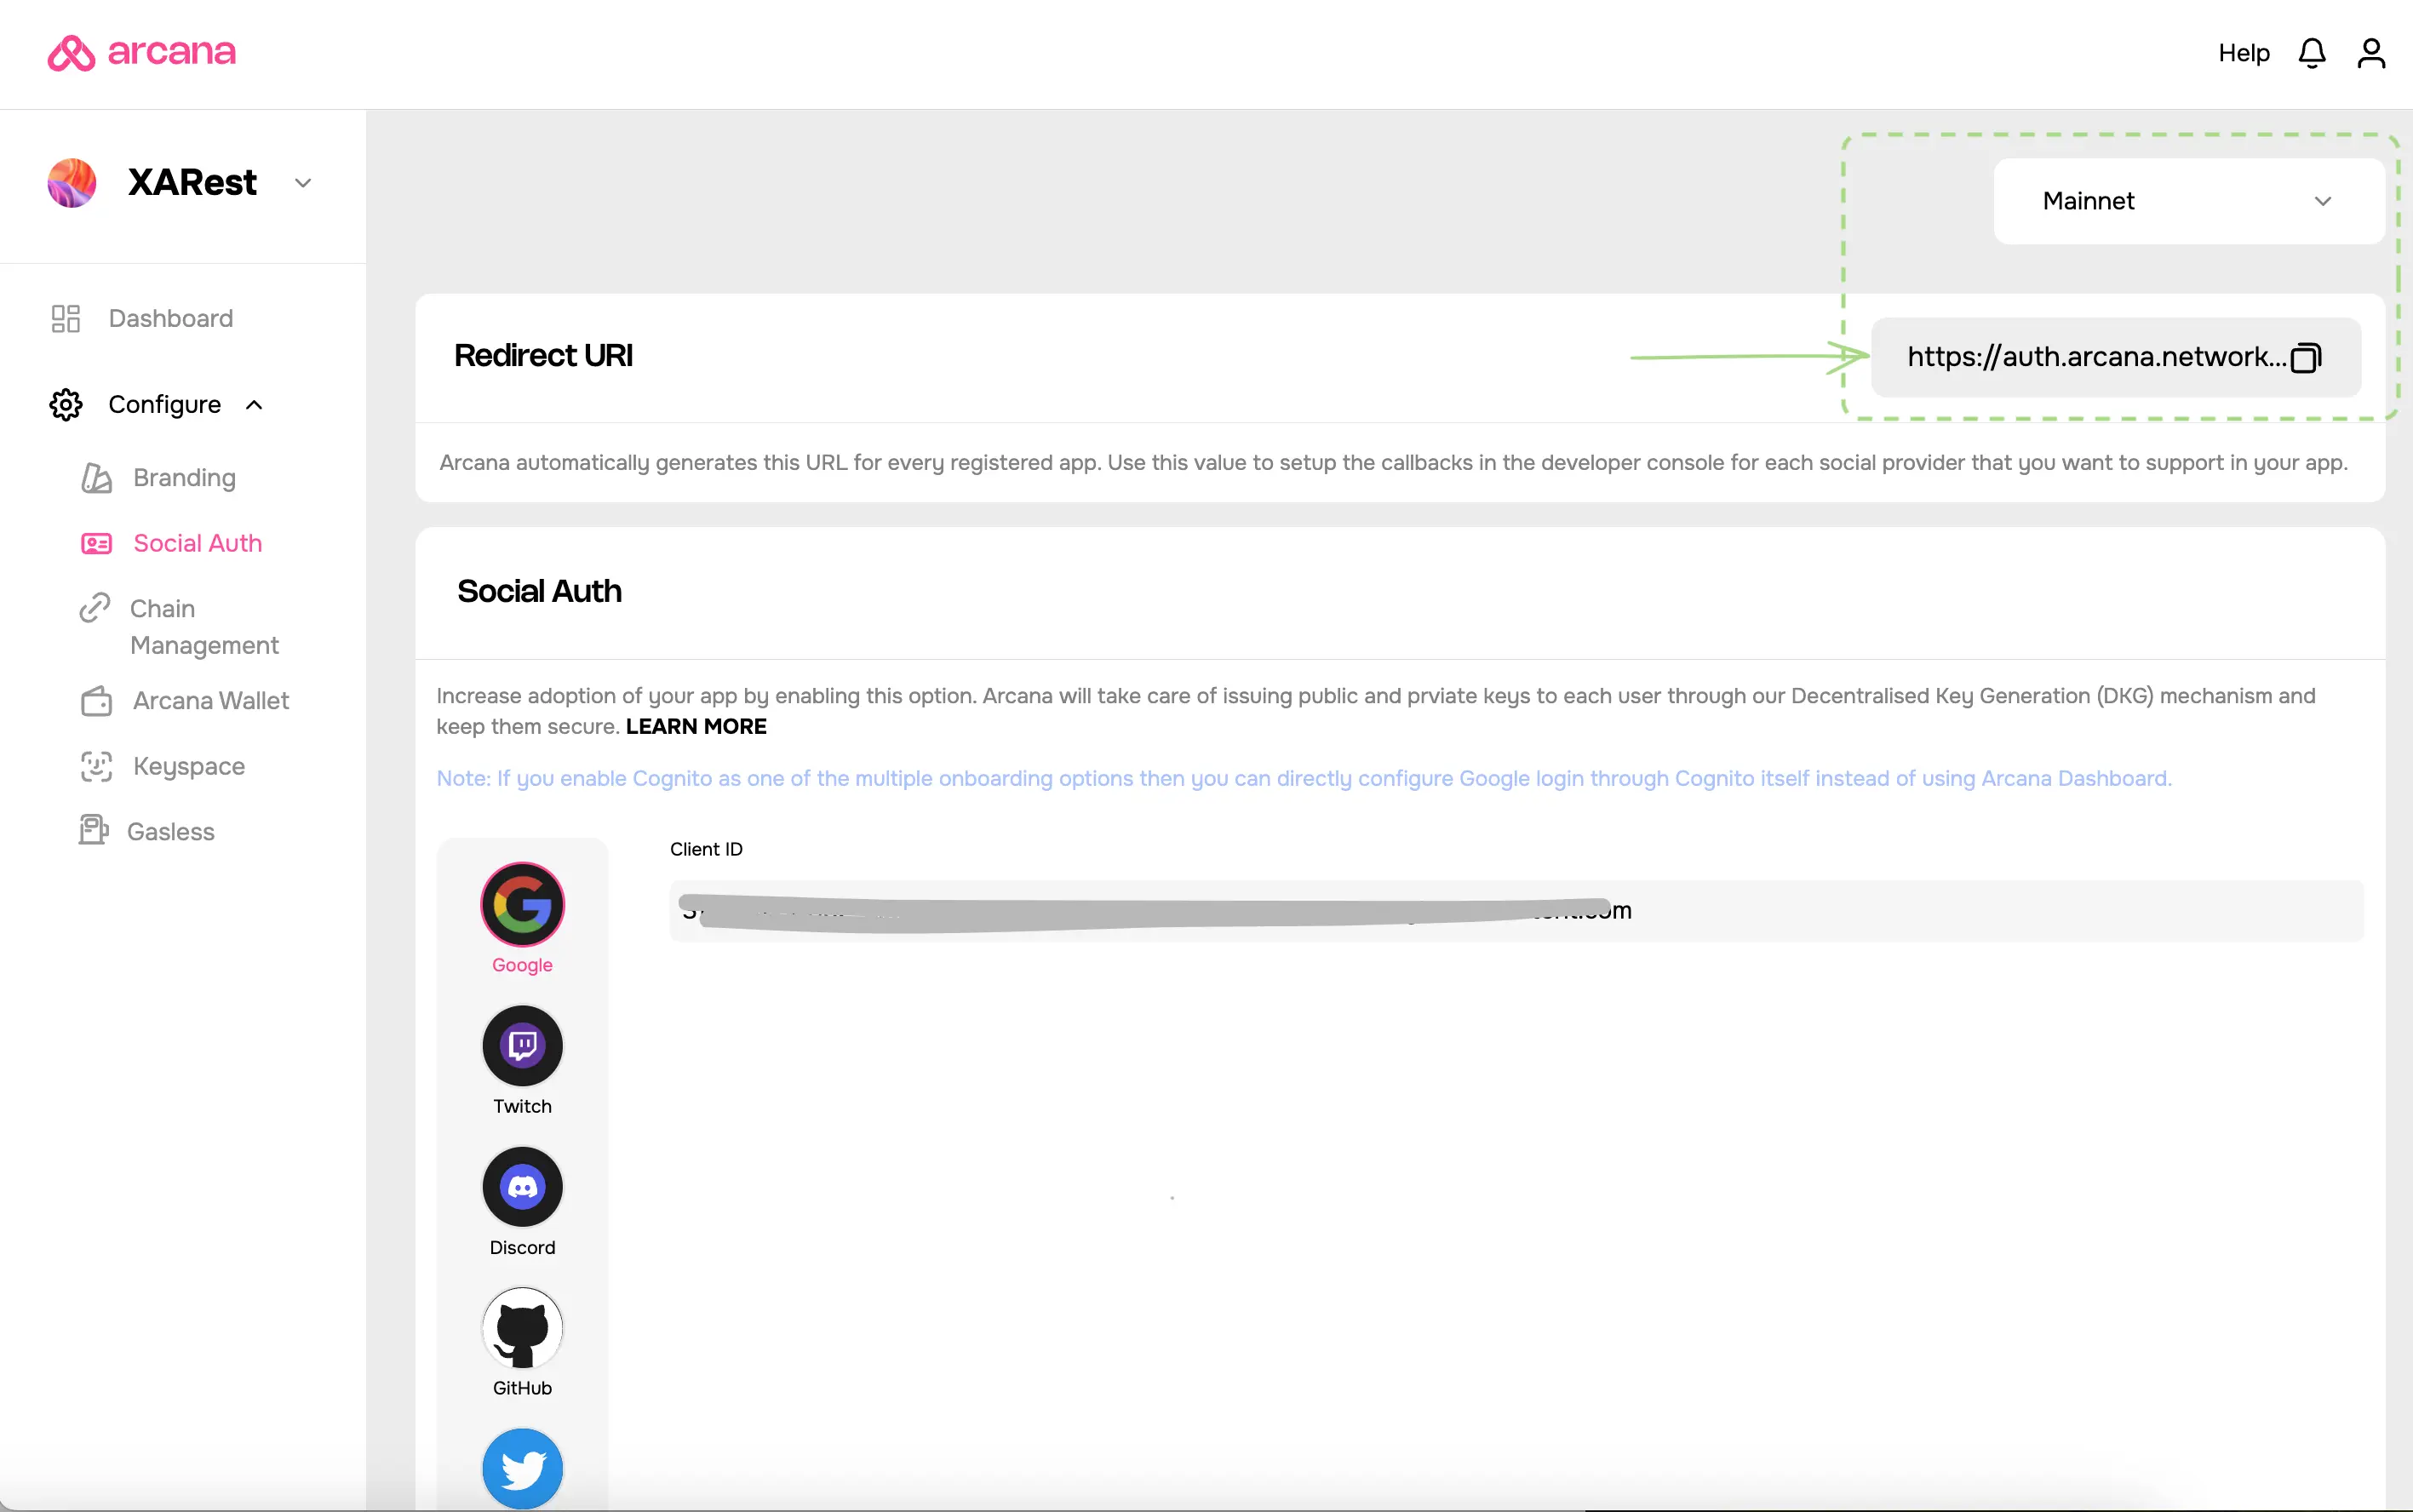
1. Get Redirect URI
Select the app in the Manage Apps dashboard screen and click Testnet/Mainnet to configure Twitch in the respective configuration profile. Go to Configure > Social Auth. Copy the redirect URI shown on the top right.
Do not close the Social Auth browser tab in the Arcana Developer Dashboard. Open another tab and set up Twitch OAuth.
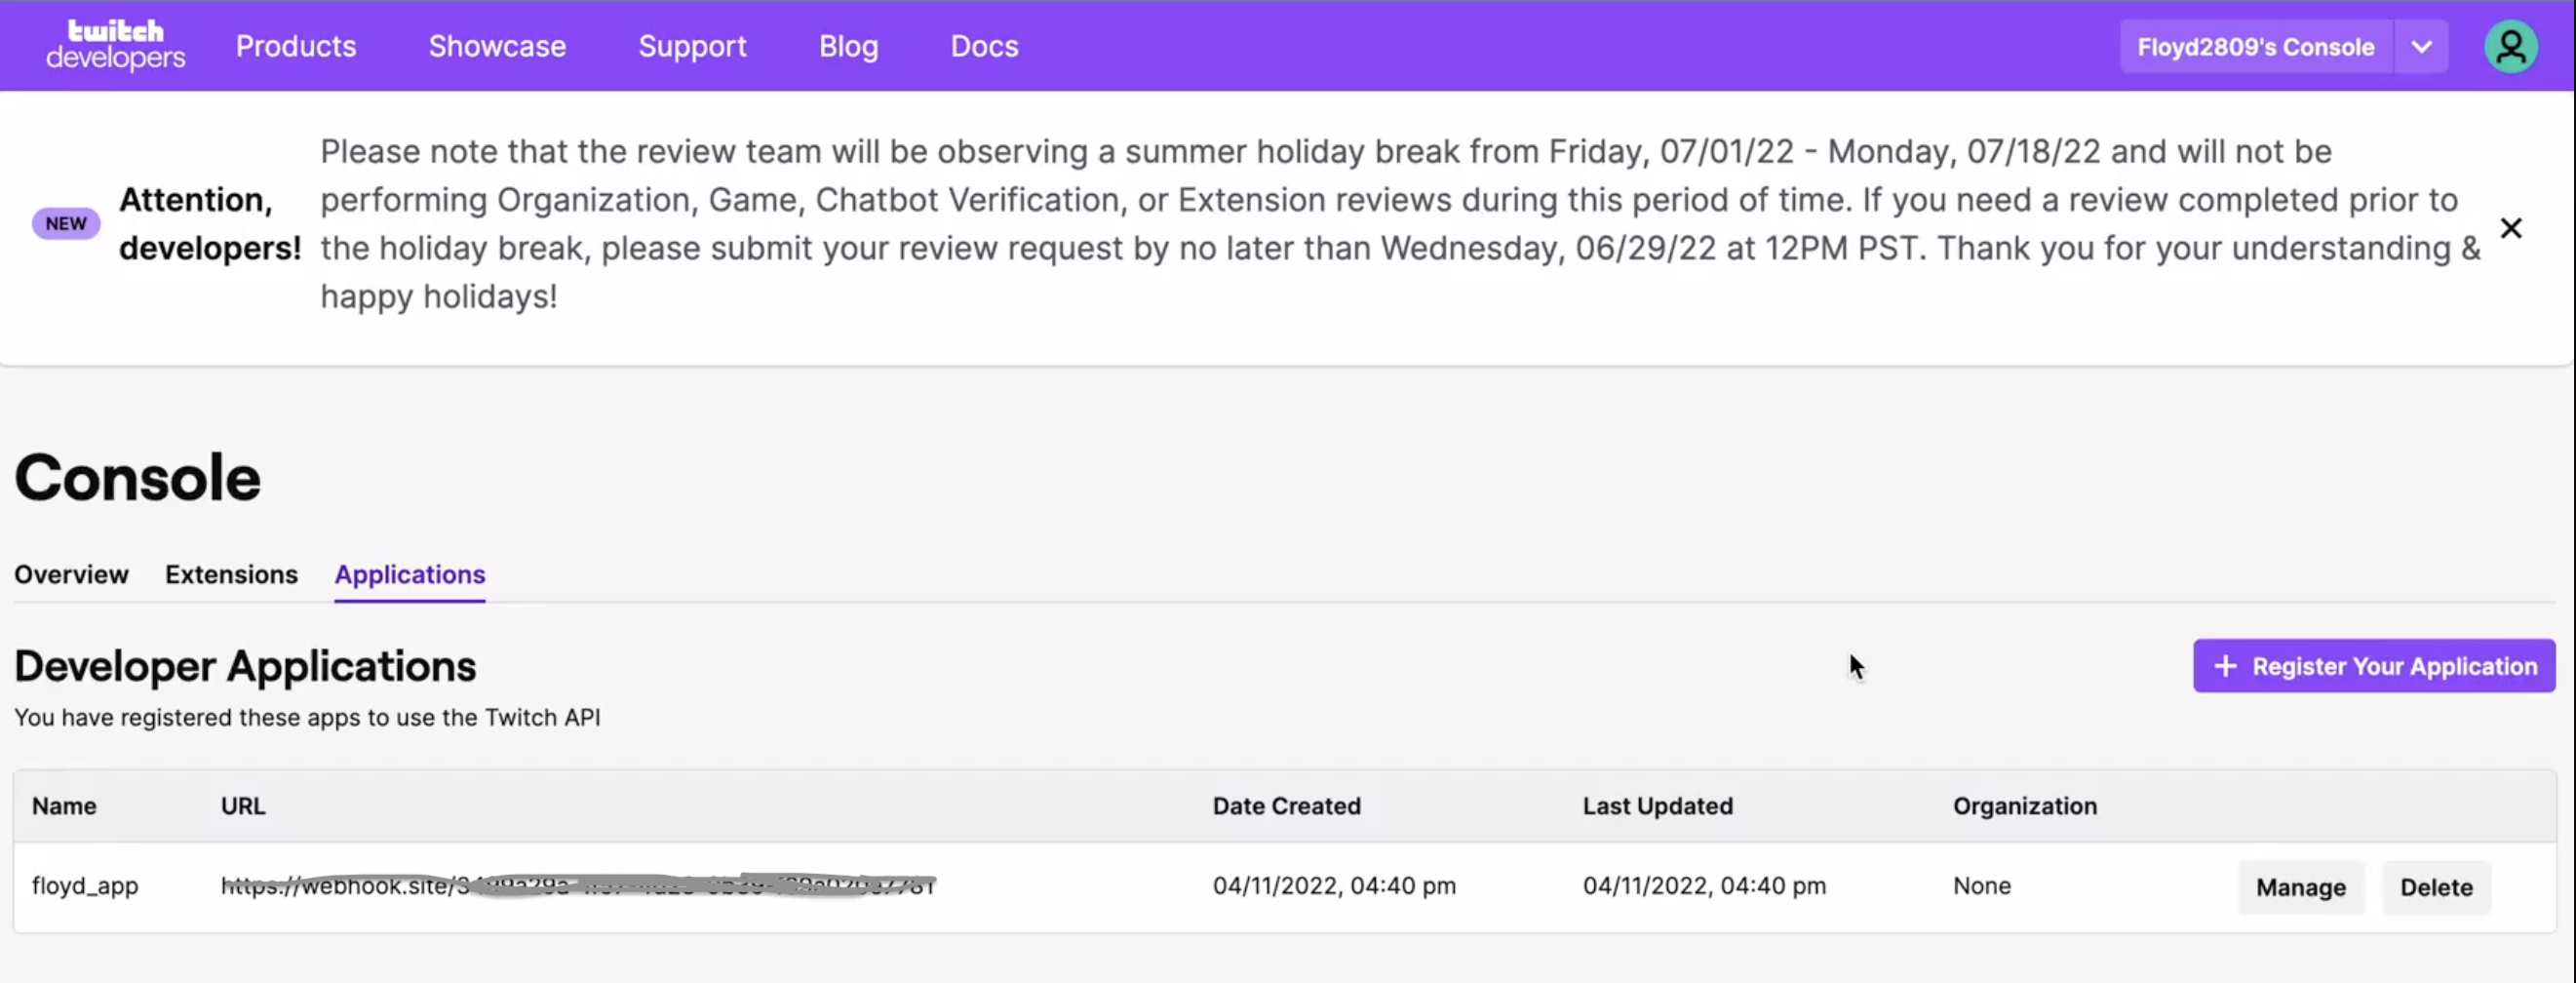
2. Get Twitch ClientID
Go to the Twitch Developer Console and register the app as a new Twitch application.
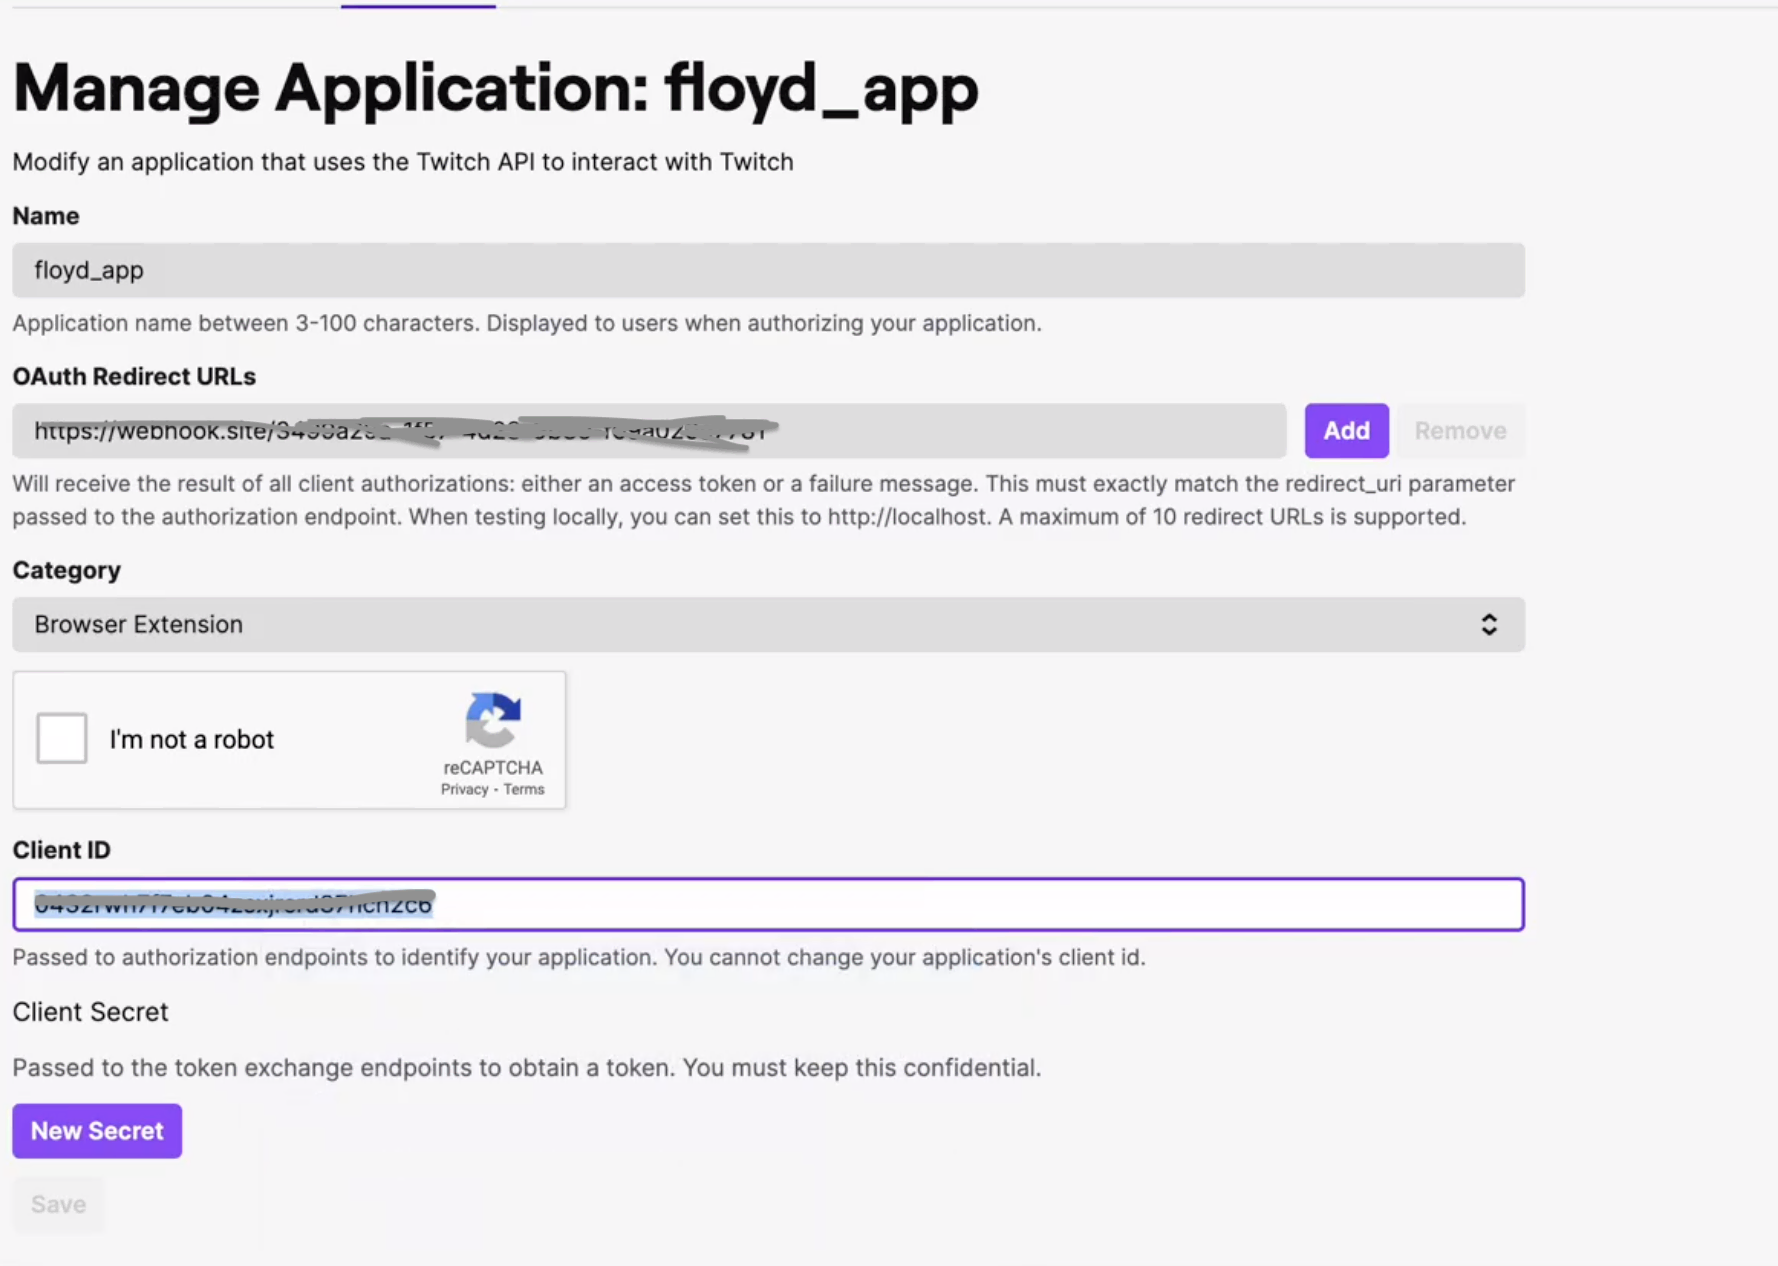
Enter the application name.
Specify the Redirect URI copied from the Arcana Developer Dashboard in the previous step into the OAuth Redirect URL field of the Twitch Developer Console.
Copy the ClientID generated by Twitch for the newly registered application in the Twitch Developer Console. It will be required in the next step while using the Arcana Developer Dashboard for completing the app configuration.
3. Update Social Auth
Finally, supply the Twitch ClientID into the Arcana Developer Dashboard Twitch settings. In the Arcana Developer Dashboard, click Configure > Social Auth. Select Twitch icon and refer to Client ID input field. Paste the Client ID assigned by the Twitch Developer Console.
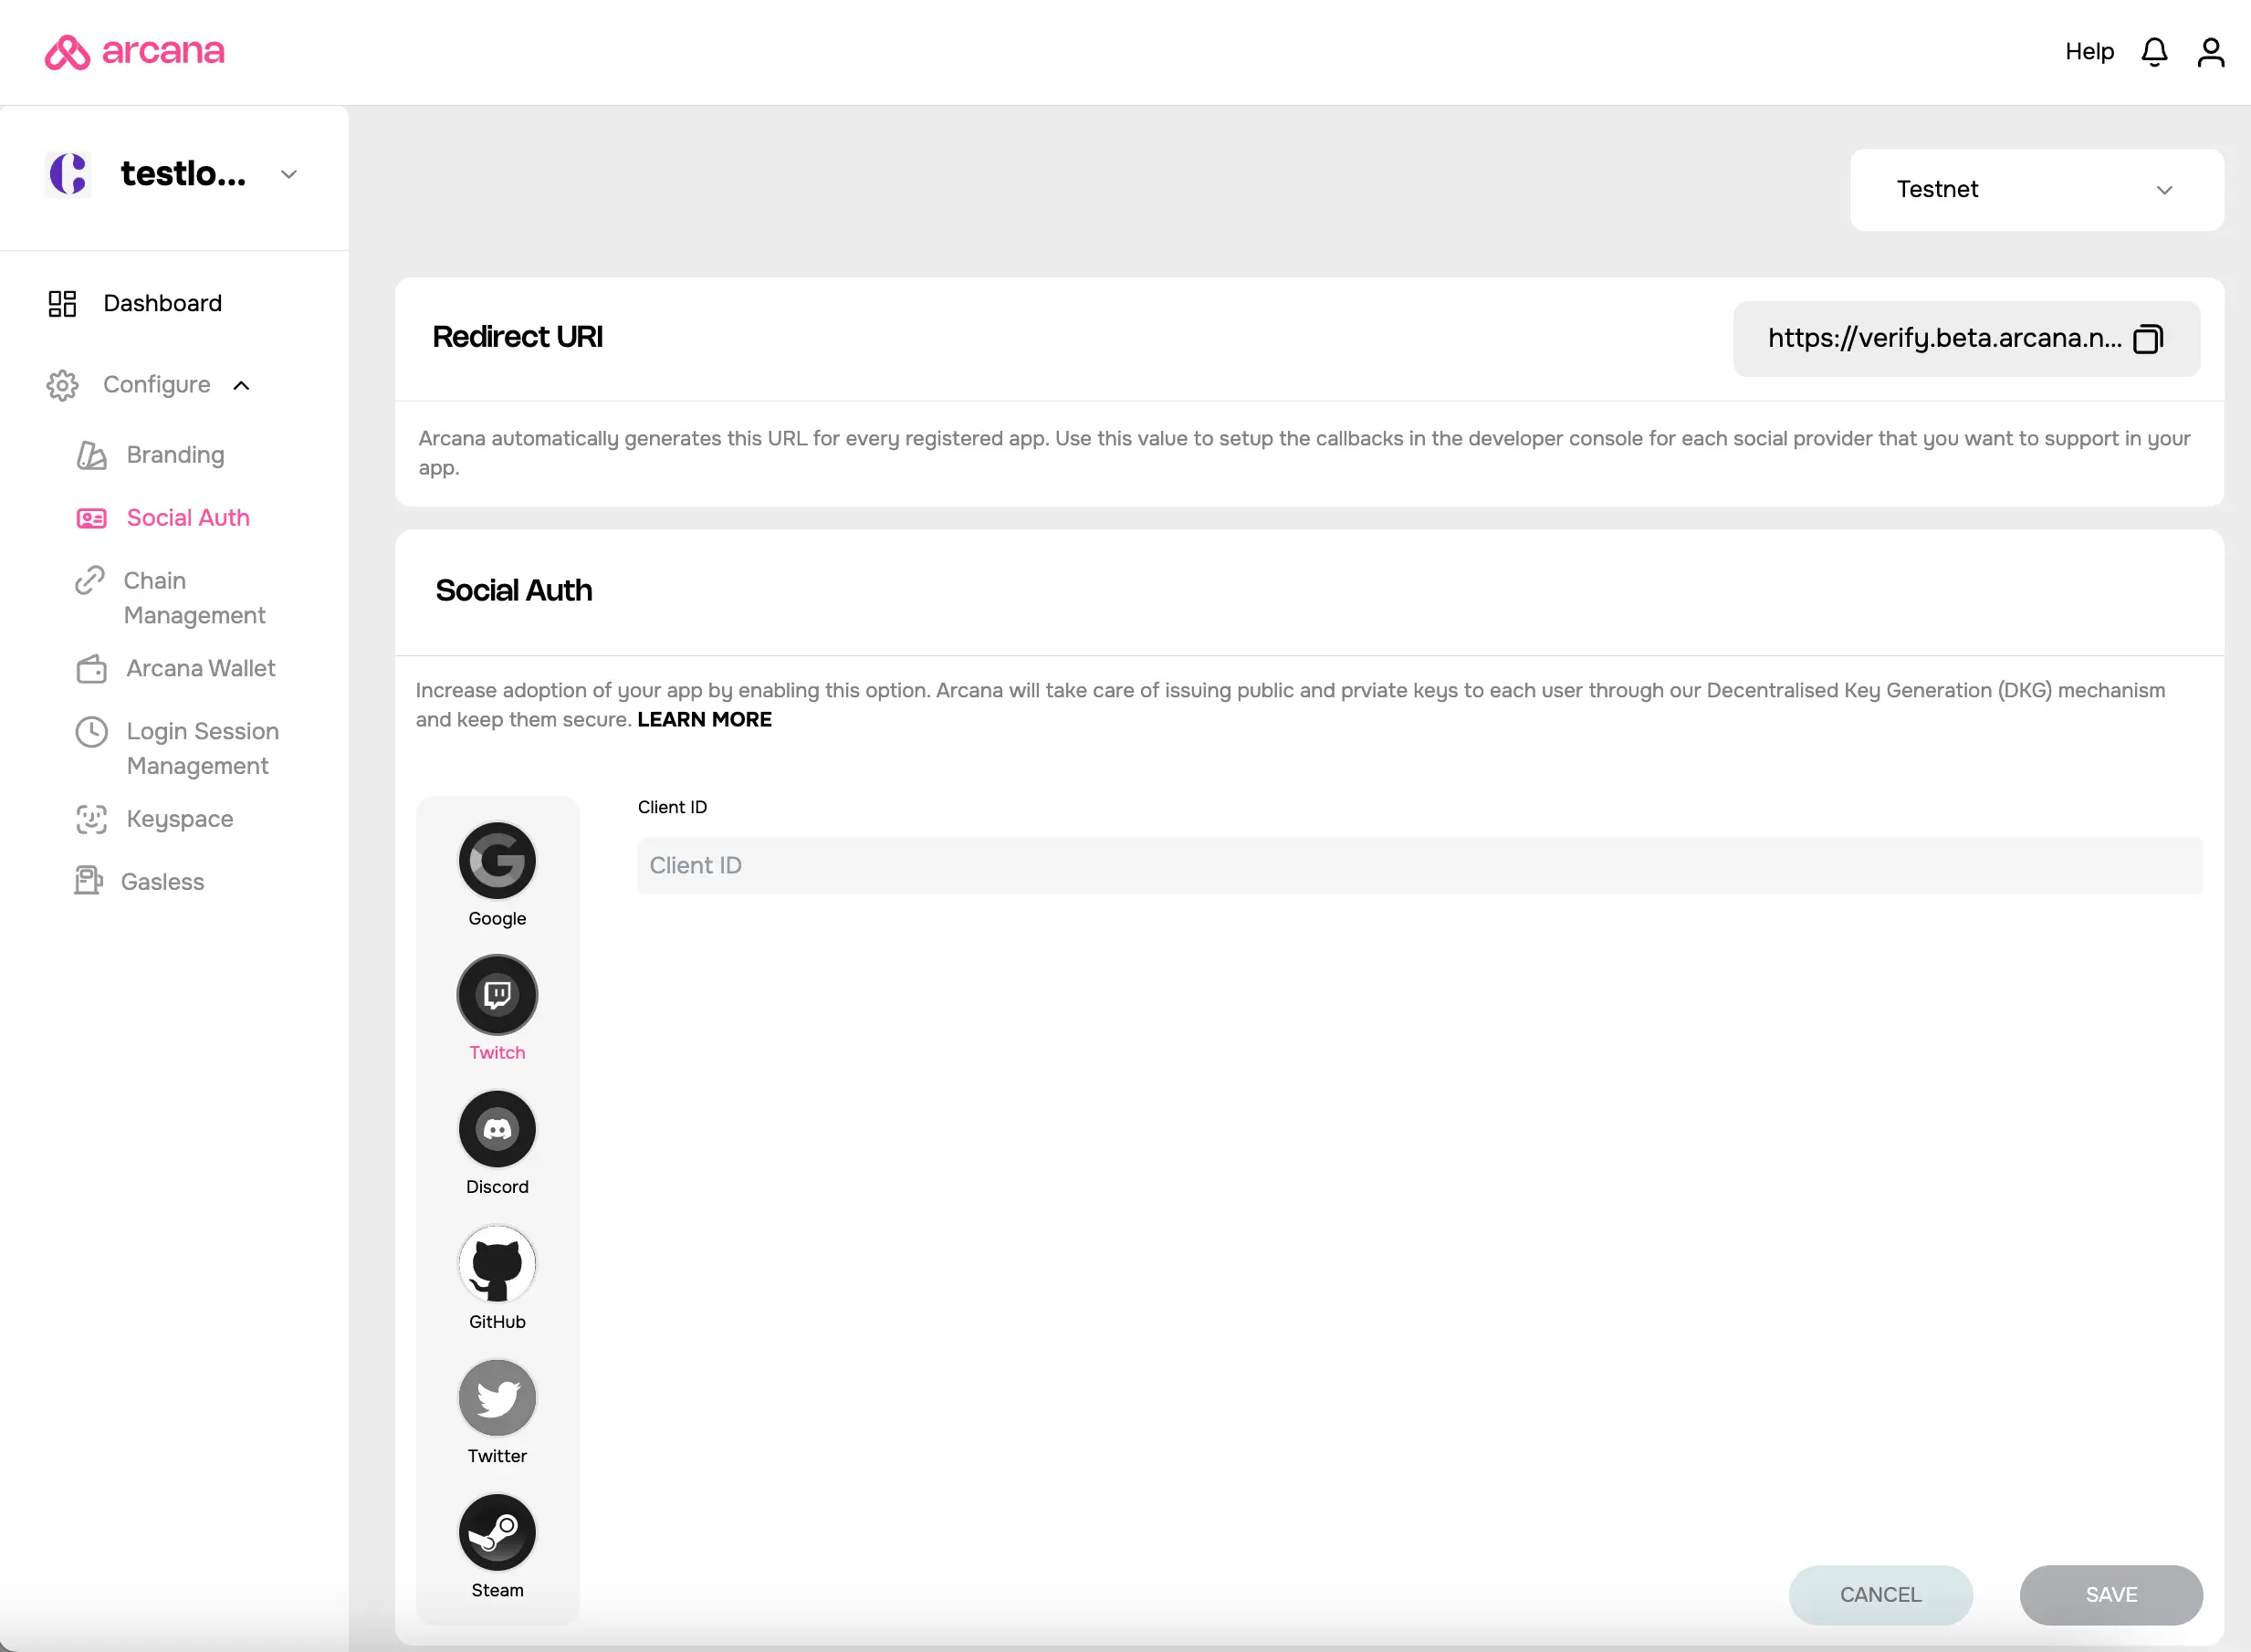
Save the Social Auth settings.
You are all set with the Twitch configuration.