App Deployment: Mainnet
Estimated time to read: 2 minutes
Prerequisites
- Apps must be registered. A default Testnet configuration profile is assigned to each registered app. The mainnet configuration profile must be created by the developer.
1. Create Mainnet Profile
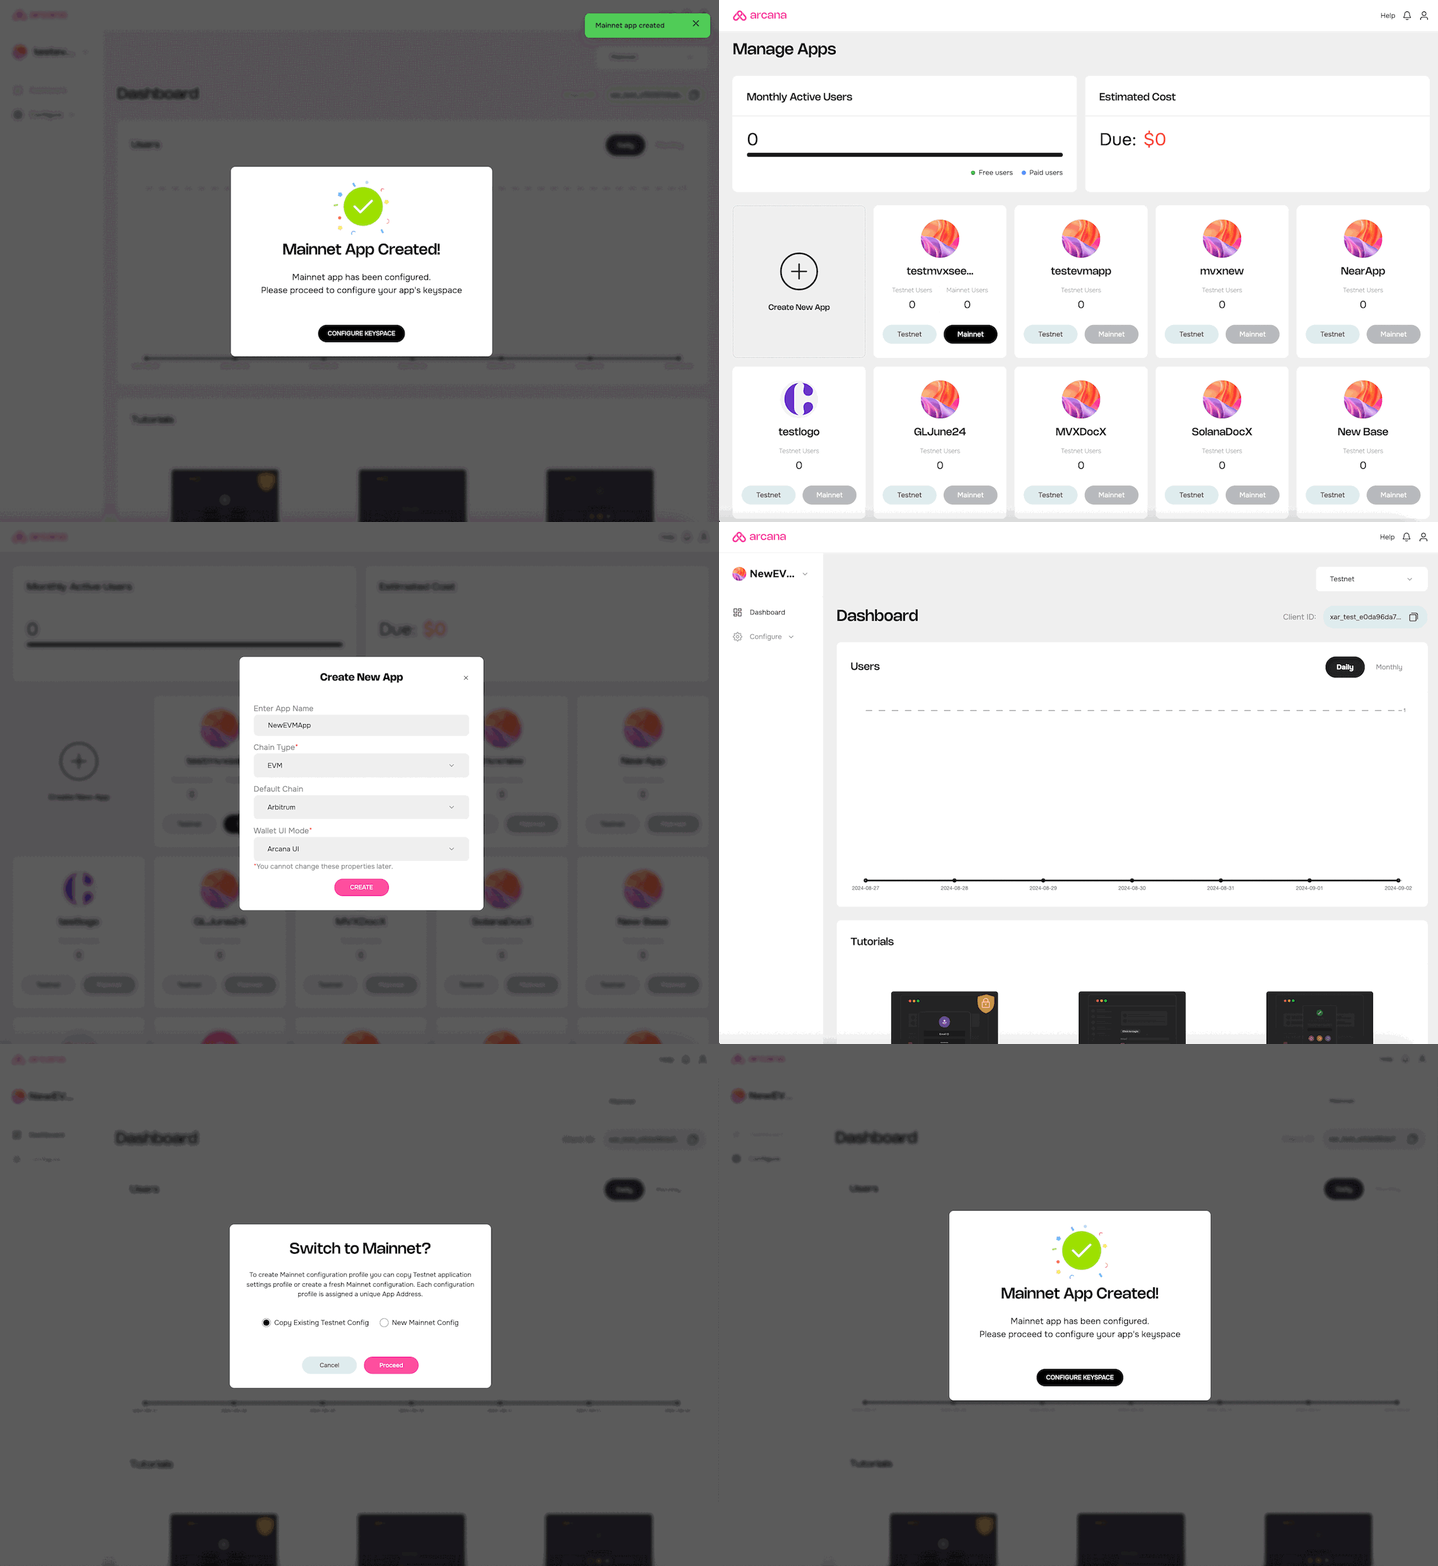
Visit the 'Manage Apps' page on the Arcana Developer Dashboard. Each app is associated with a Testnet profile by default, and the 'Mainnet' configuration is disabled. Click the registered app card to view the Testnet configuration settings home page for the app.
Choose 'Mainnet' from the 'Testnet' dropdown on the top right. You will see options to create the Mainnet profile:
- Copy the Testnet profile to Mainnet
- Create a fresh Mainnet profile

Note down the brand new Mainnet configuration profile Client ID of the format xar_live_nnnnnnnnnnn...nnn displayed in the dashboard.
Mainnet Profile Status
The Manage Apps dashboard screen displays cards for all registered apps. Once a Mainnet profile is created, you will see it enabled on the app card.
2. Update Redirect URI
The redirect URI setting displayed in the dashboard for the Mainnet configuration profile must also be updated for all the social login providers that are enabled for the app. Use the respective social login provider's console and update the OAuth settings with the new redirect URI value.
Update Redirect URIs
After creating the 'Mainnet' profile, developers must also update the social login provider 'Redirect URI' settings via the respective provider developer consoles or dashboards.
Copy the 'Redirect URI' displayed for the 'Mainnet' profile and update this value in the social login provider's developer console. For e.g., for Google, update the Redirect URI in the Google Developer Console. Learn more...
3. Update AuthProvider
In the app integration code, replace the Testnet Client ID with the newly assigned Mainnet Client ID and recompile the app.
import {AuthProvider} from "@arcana/auth";

const provider = new AuthProvider(
  "xar_live_d7c88d9b033d100e4200d21a5c4897b896e60063", {  //mainnet Client ID
  // network: 'mainnet',  // optional
  chainConfig: {
    chainId: '137',      // selected chain in the wallet network dropdown UI
    rpcUrl: 'https://polygon-rpc.com/',  // RPC URL of the selected chain in the wallet network dropdown UI
  },
  alwaysVisible: true,
  setWindowProvider: true,
  debug: true,
  position: 'right',
  theme: 'dark',
});
Wallet Address Change
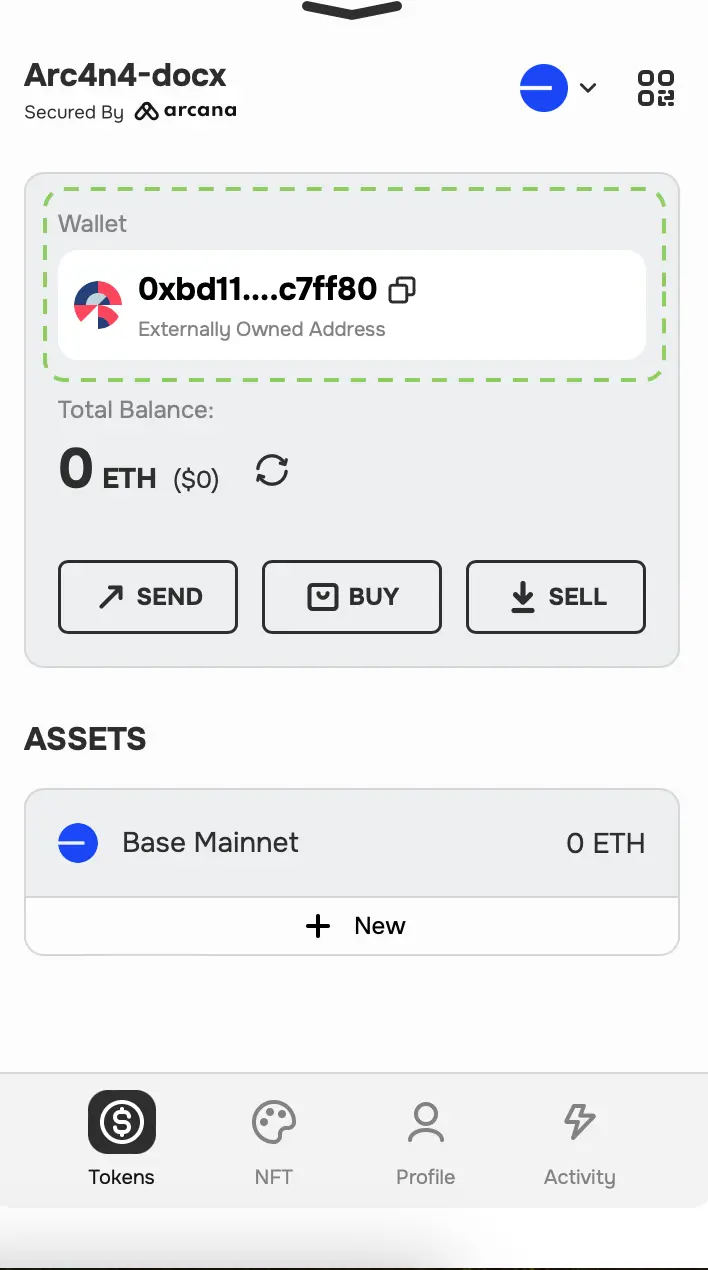
The user's wallet address will differ when the app is migrated from Testnet to Mainnet.

