Custom Wallet UI
Estimated time to read: 8 minutes
Learn how a Web3 app can use a custom wallet UI instead of the default, built-in, Arcana wallet UI and integrate with the Arcana wallet to enable social login and allow users to sign blockchain transactions.
Prerequisites
To log into the Arcana Developer Dashboard, you’ll need an account with a supported social login or use email for passwordless access.
- GitHub
- Twitch
- Discord
1. Dashboard Login
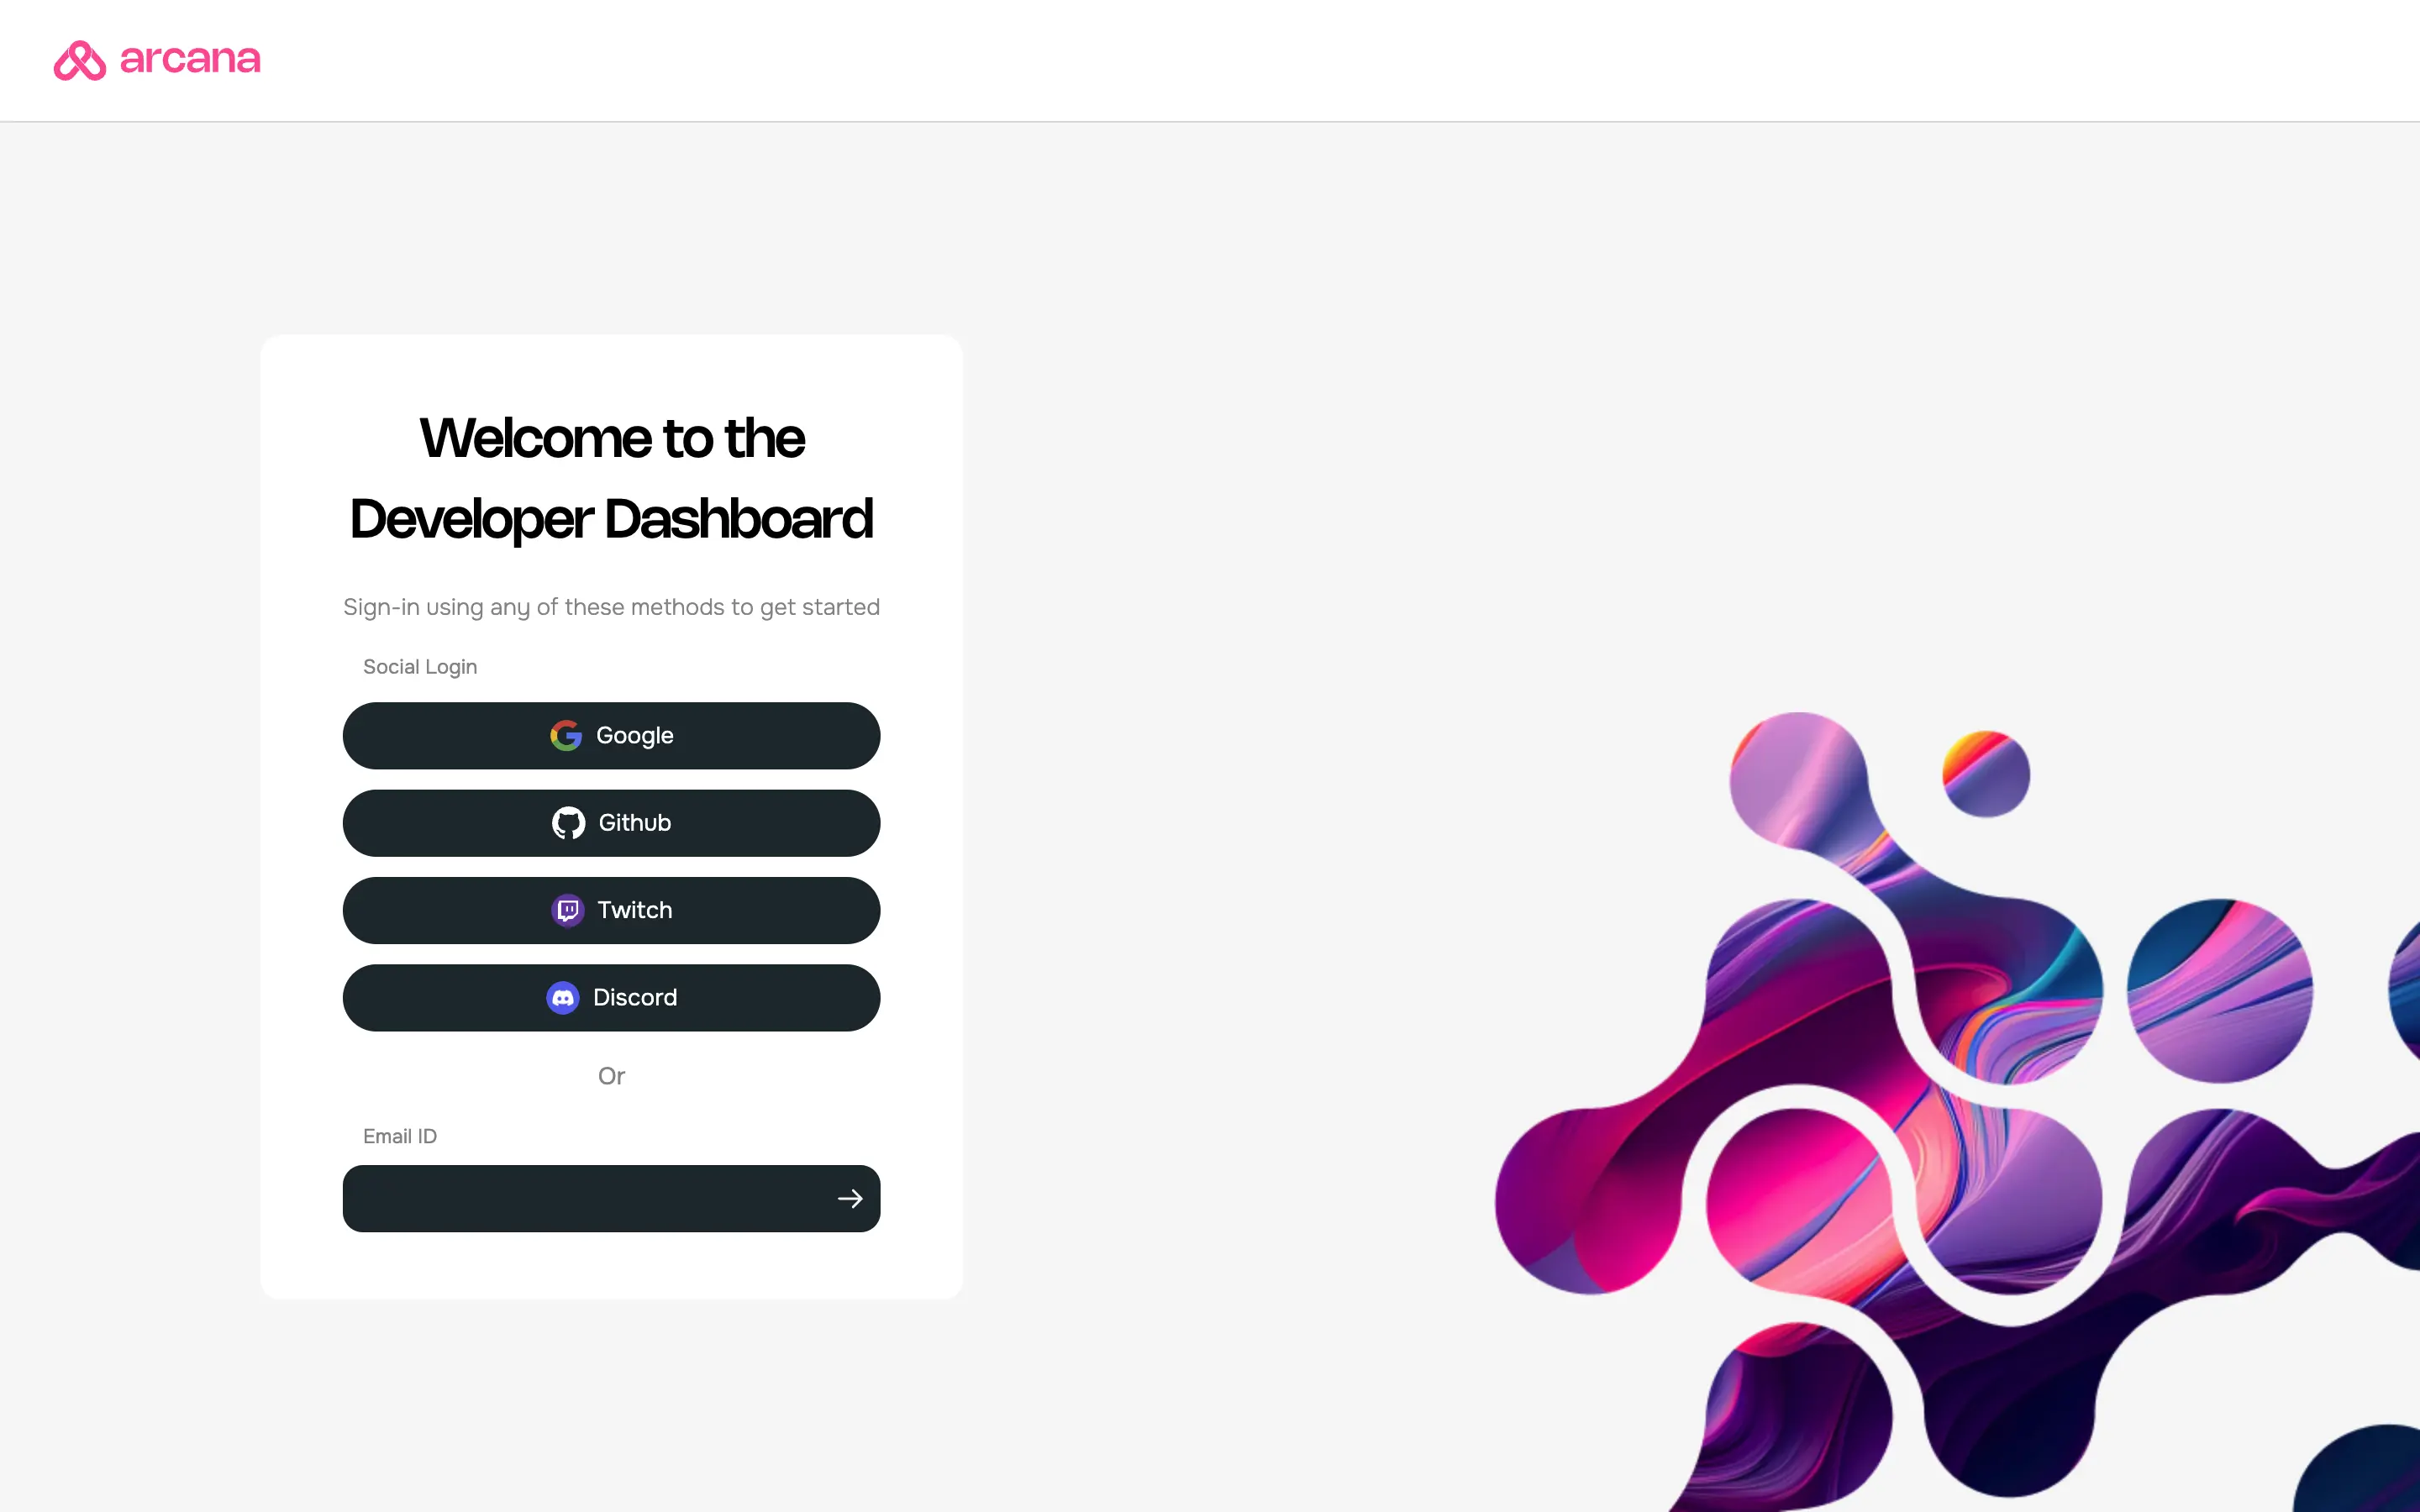
Use https://dashboard.arcana.network to log in with one of the available options.

Aggregate Login
The aggregate login feature in the Arcana Auth SDK merges login identities from social providers into one Arcana account if the email ID is the same across these providers. Developers can log into the Arcana Developer Dashboard using any supported provider and still access the same Arcana account and app settings.
2. Register App
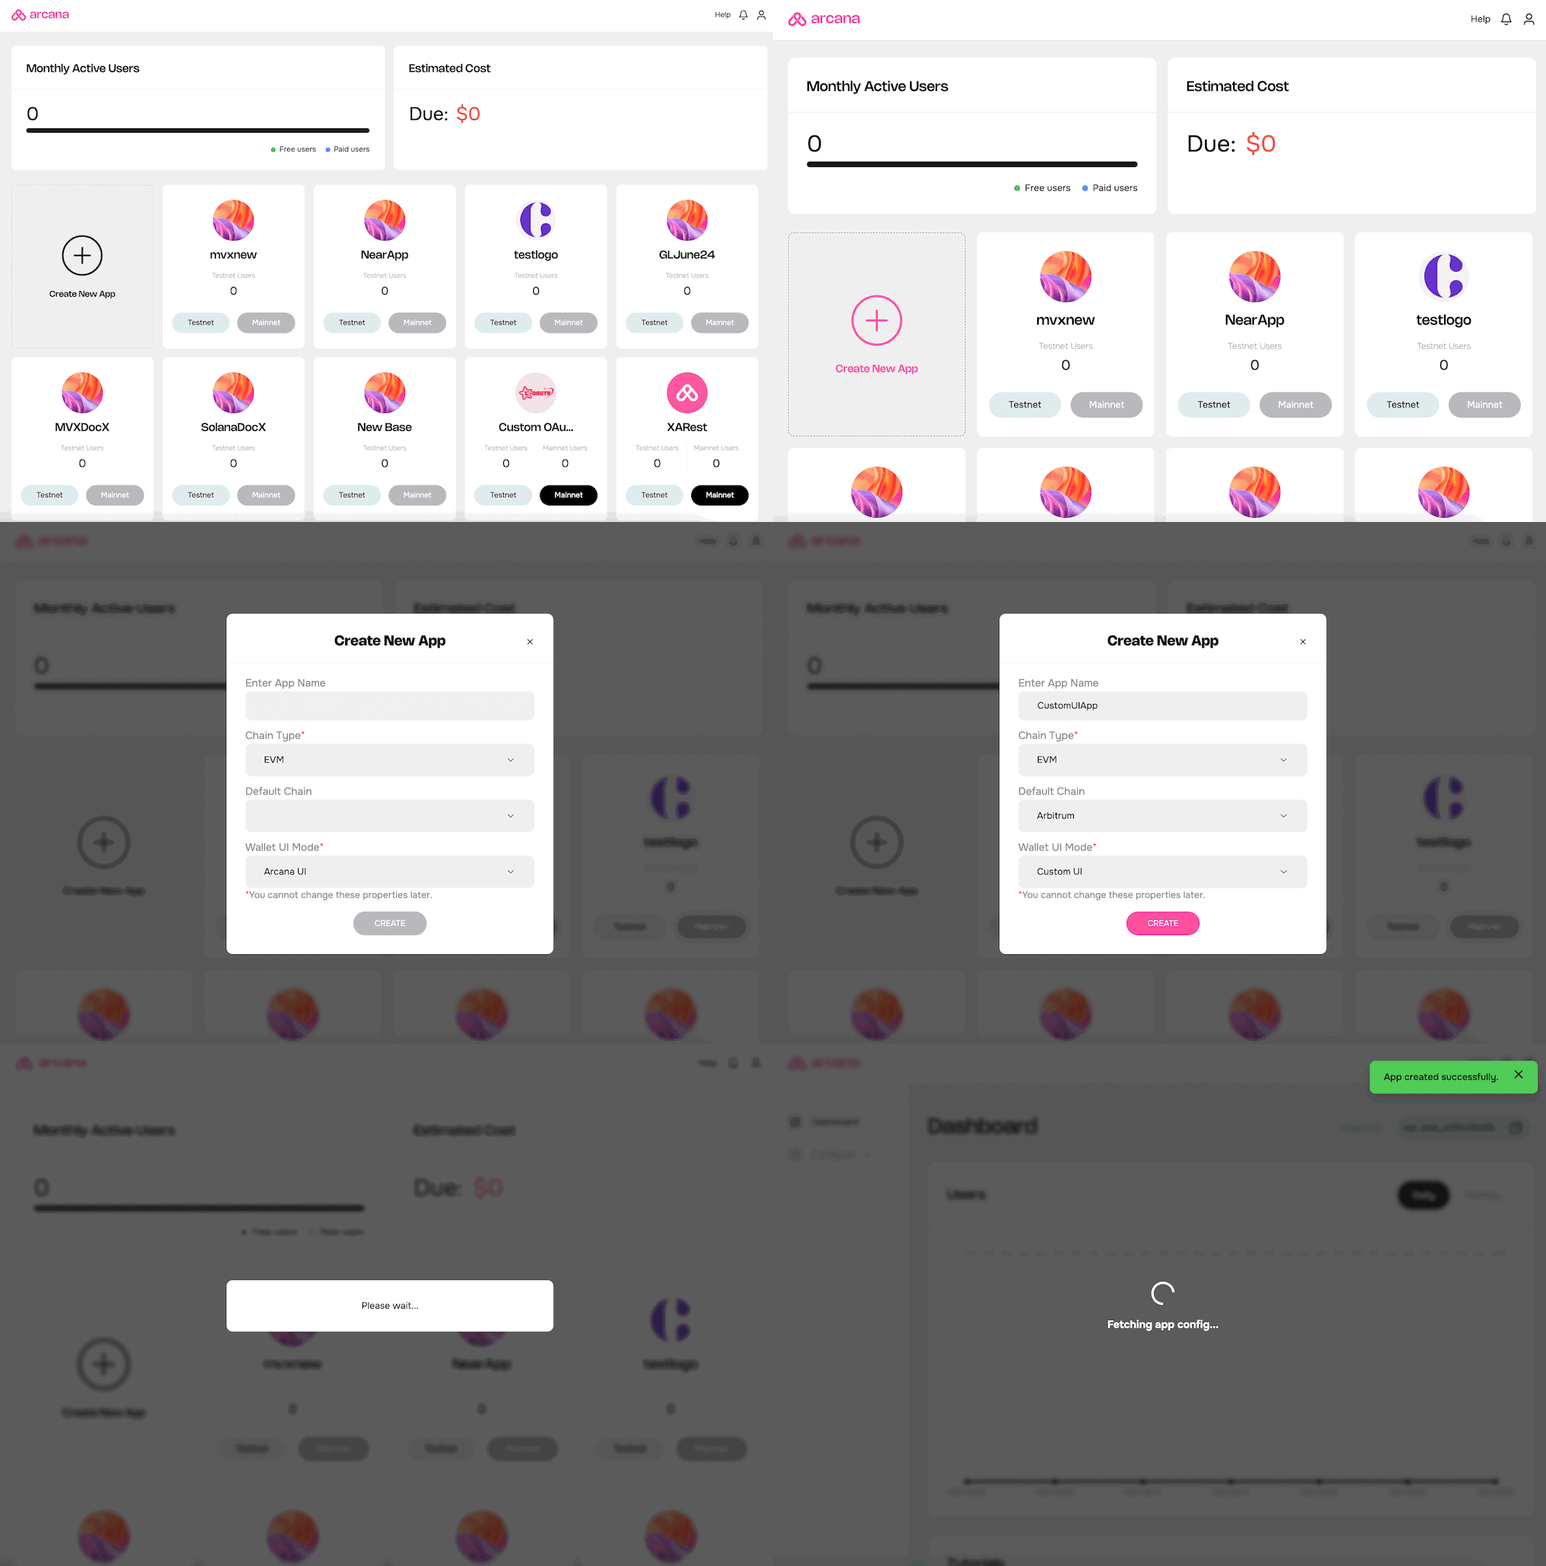
Use the dashboard to create a new app entry and register the app. While specifying the new app name and other details, specify the Wallet UI Mode setting as 'Custom UI'. By default, it is set to use the built-in, Arcana wallet UI. Then click the 'Create' button to confirm app registration. Once registered, you cannot change the Wallet UI Mode setting.

3. Configure Social Login
Follow the instructions to configure social login and custom IAM providers if required, before integrating the app with the Arcana Auth SDK.
4. Integrate App
Select the app type and follow the instructions to integrate the app with the SDK.
5. Onboard Users
Apps that are integrated with the Arcana Auth SDK can choose the built-in plug-and-play login UI or use custom login ui to onboard users.
User Onboarding Considerations
-
Log in Options: What options are offered by the app to the onboard users via social login? Configure the required social login providers via the dashboard.
-
Built-in or Custom Login UI: Does the Web3 app have a custom login UI or do they need to use the built-in, plug-and-play login UI modal offered by the Arcana Auth SDK? Choose the appropriate onboarding functions of the
AuthProvider. -
Session Management: Does the authenticated user stay logged in if they accidentally close the browser tab? If yes, what is the acceptable Web3 app security window for the session? After how long should the session expire and a user re-login is necessitated for security? Configure the session management settings via the dashboard.
-
Reconnect: Does the Web3 app allow users to stay connected or require re-authentication after a certain time has elapsed? Use
isConnected,canReconnectandreconnectfunctions of theAuthProvider.
Advanced
Arcana JWT Token
Upon successful authentication, Arcana Auth SDK returns a unique JWT token to the app called the Arcana JWT Token. App developers can access this token via getUser() method and refer to the loginToken field of the UserInfo object.
Developers can use this token to verify the user and subsequently generate another token for app use if required.
In the future, the Arcana JWT Token will be deprecated. Use userDIDToken to verify user.
Upon successful authentication, Arcana Auth SDK returns a unique DID token to the app called the Arcana DID Token. App developers can access this token via getUser() method and refer to the userDIDToken field of the UserInfo object.
Developers can use this token to verify the user and subsequently generate another token for app use.
Global vs. App Specific Keys
Apps using app-specific keys must use a custom login UI that allows users to input the OTP. In this case, the isCompleteRequired boolean returns true after initiating login with OTP.
Apps using global keys are not required to use a custom login UI. A built-in login UI is automatically displayed for the user for OTP. Users must enter the OTP received via email in this UI.
MFA Enabled / Disabled
During passwordless login via OTP, apps configured for MFA and those using overlays must hide it to enable OTP input. Use the isMFARequired callback in the loginWithOTPComplete method to hide the overlay.
Reconnect Users
Use canReconnect and reconnect methods of AuthProvider within a 30-min window of the user-logout action. Allow users to automatically reconnect to the app without re-authentication.
See canReconnect and reconnect for details.
Apps Using Custom Auth
Web3 apps that use custom user authentication solutions and require authenticated users to sign blockchain transactions can also integrate with the Arcana Auth SDK. These apps can skip the social onboarding feature and use loginWithCustomProvider function of the AuthProvider to assign keys securely. Learn more...
6. Plug in Custom Wallet UI
Once user onboarding logic is in place, add code to wire your custom wallet UI to enable wallet operations.
- Issue Wallet Ops
- Manage User Control
- Export Private Key
Issue Wallet Ops
During app integration with Arcana Auth SDK, an AuthProvider is created. This provider is a standard Ethereum EIP-1193 provider. It facilitates wallet interactions with the blockchain. Use AuthProvider to call the JSON-RPC API and handle Web3 wallet operations for the selected chains. Add code to trigger wallet actions like sending transactions, signing messages, and executing contract calls.
Sample Code
The following code snippet shows how an HTML/CSS/JS app can integrate with the Arcana Auth SDK, onboard users via plug-and-play login UI and use the standard EIP-1193 Ethereum provider for issuing blockchain transactions through a custom wallet UI.
import { AuthProvider } from "@arcana/auth";
import { ethers } from 'ethers';

let provider;
const auth = new AuthProvider('xar_live_nnnnnnnnnnnnnnncdddddddd')  //Use registered app client Id

// initialize the Arcana AuthProvider before calling any AuthProvider functions
...
await auth.init()
...

// onboard users - for e.g. using plug-and-play ui

const arcanaProvider = await auth.connect()

// alternatively, onboard users by calling loginWithLink(deprecated), `loginWithOTPStart`, `loginWithOTPComplete`, loginWithSocial, loginWithBearer for passwordless, social or IAM providers.
...

const provider = new ethers.providers.Web3Provider(arcanaProvider)

// Call ethers provider APIs see https://docs.ethers.org/v5/api/providers/provider/ for details
await provider.getBlockNumber()

// Use the Arcana provider to sign a message using JSON RPC calls

async function signMessage() {

  // Display a notification in custom wallet UI  showing the message details and seeking user's approval

  ...

  // Once user approves, issue the request via the Arcana Auth SDK to sign transaction

  const { sig } = await arcanaProvider.request({
    method: 'eth_sign',
    params: [
      {
        from, // sender account address
        data: 'Some message data',
      },
    ],
  })
  console.log({ sig })
}

...

// You can send tokens or use eth_sendtransaction functionality in custom wallet UI
// Show a UI notification displaying the transaction details and ask for user's approval

...

// Use the Arcana provider to issue the send transaction

async function sendTransaction() {
  const hash = await arcanaProvider.request({
    method: 'eth_sendTransaction',
      params: [{
      from,
      gasPrice: 0,
      to: '0xE28F01Cf69f27Ee17e552bFDFB7ff301ca07e780', // receiver account address
      value: '0x0de0b6b3a7640000',
    },],
  })
  console.log({ hash })
}

...
Manage User Control
For a smooth user experience, ensure your custom UI displays clear approval/rejection prompts when blockchain requests are made. Users must be able to view the details and accept or reject these actions.
Export Key Option
When using the default Arcana wallet UI, authenticated users can access and copy their private key from the profile tab. For custom wallet UI, developers should include secure options for users to export their private key. Use the AuthProvider to access the private key and make a JSON/RPC request call with the _arcana_getPrivateKey method to retrieve the key securely in the user's context.
Sample Code
// Only valid when custom wallet UI is selected in the dashboard
// during app registration

async function onClickGetUserPrivateKey() {
  const authProvider = window.ethereum //assuming setWindowProvider is set when AuthProvider was instantiated
  try {
    const userPkey = await authProvider.request({
      method: '_arcana_getPrivateKey',
      params: []
    });
    // Do something with the key in custom wallet UI
    // For e.g., display it in the app context, allow user to copy it
  } catch(error) {
        console.log(error);
  };
}
Access Limitation
If the app is configured through the Arcana Developer Dashboard for using the default app specific keys option, then _arcana_getPrivateKey can be used. Not available for the Global Keys Keyspace configuration setting for security reason.
What's Next?
Add code to use the AuthProvider and issue blockchain transactions in the context of the authenticated user and seek the user's approval, if required. The JSON/RPC functions and Web3 wallet operations supported by the Arcana Auth SDK for EVM chains may differ from those supported for the non-EVM chains. Learn more...
See also
Arcana Auth SDK Quick Links