Custom Auth Setup
Estimated time to read: 2 minutes
Learn how to configure Custom Auth for using the Arcana Auth SDK in apps that use custom user authentication and allow authenticated users to sign blockchain transactions.
Prerequisites
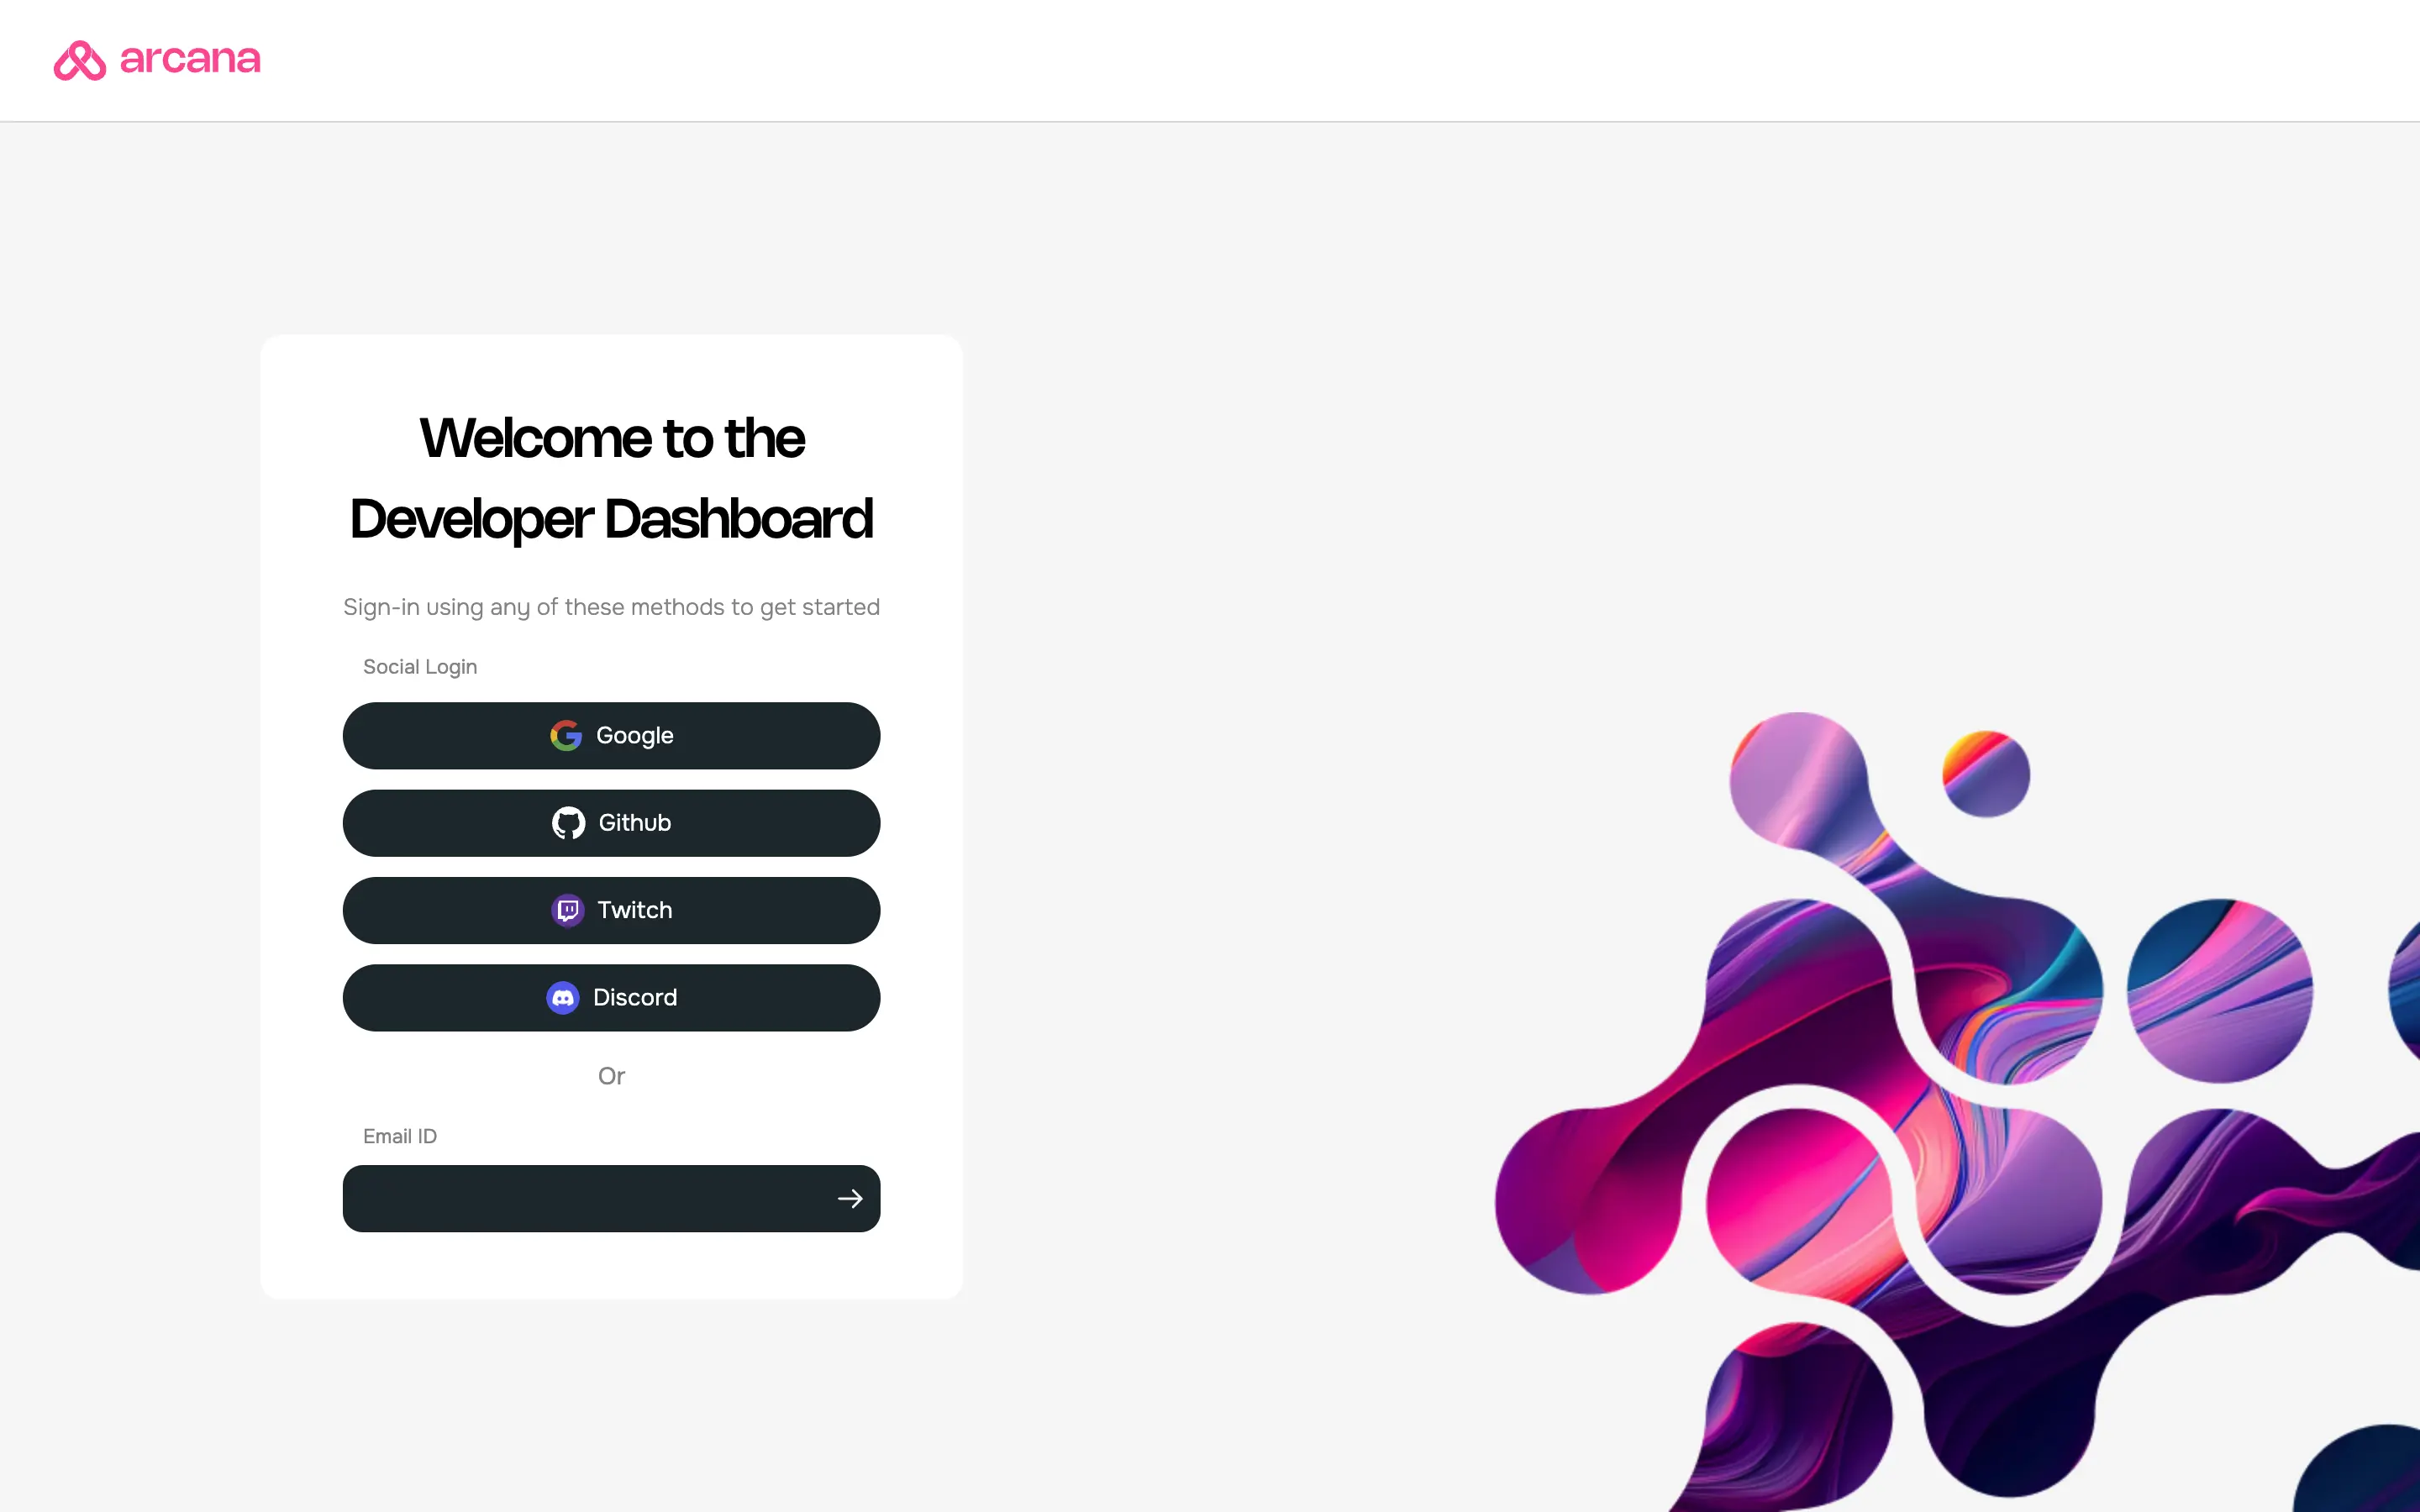
To log into the Arcana Developer Dashboard, you’ll need an account with a supported social login or use email for passwordless access.
- GitHub
- Twitch
- Discord
Use https://dashboard.arcana.network to log in with one of the available options.

Aggregate Login
The aggregate login feature in the Arcana Auth SDK merges login identities from social providers into one Arcana account if the email ID is the same across these providers. Developers can log into the Arcana Developer Dashboard using any supported provider and still access the same Arcana account and app settings.
1. Register App
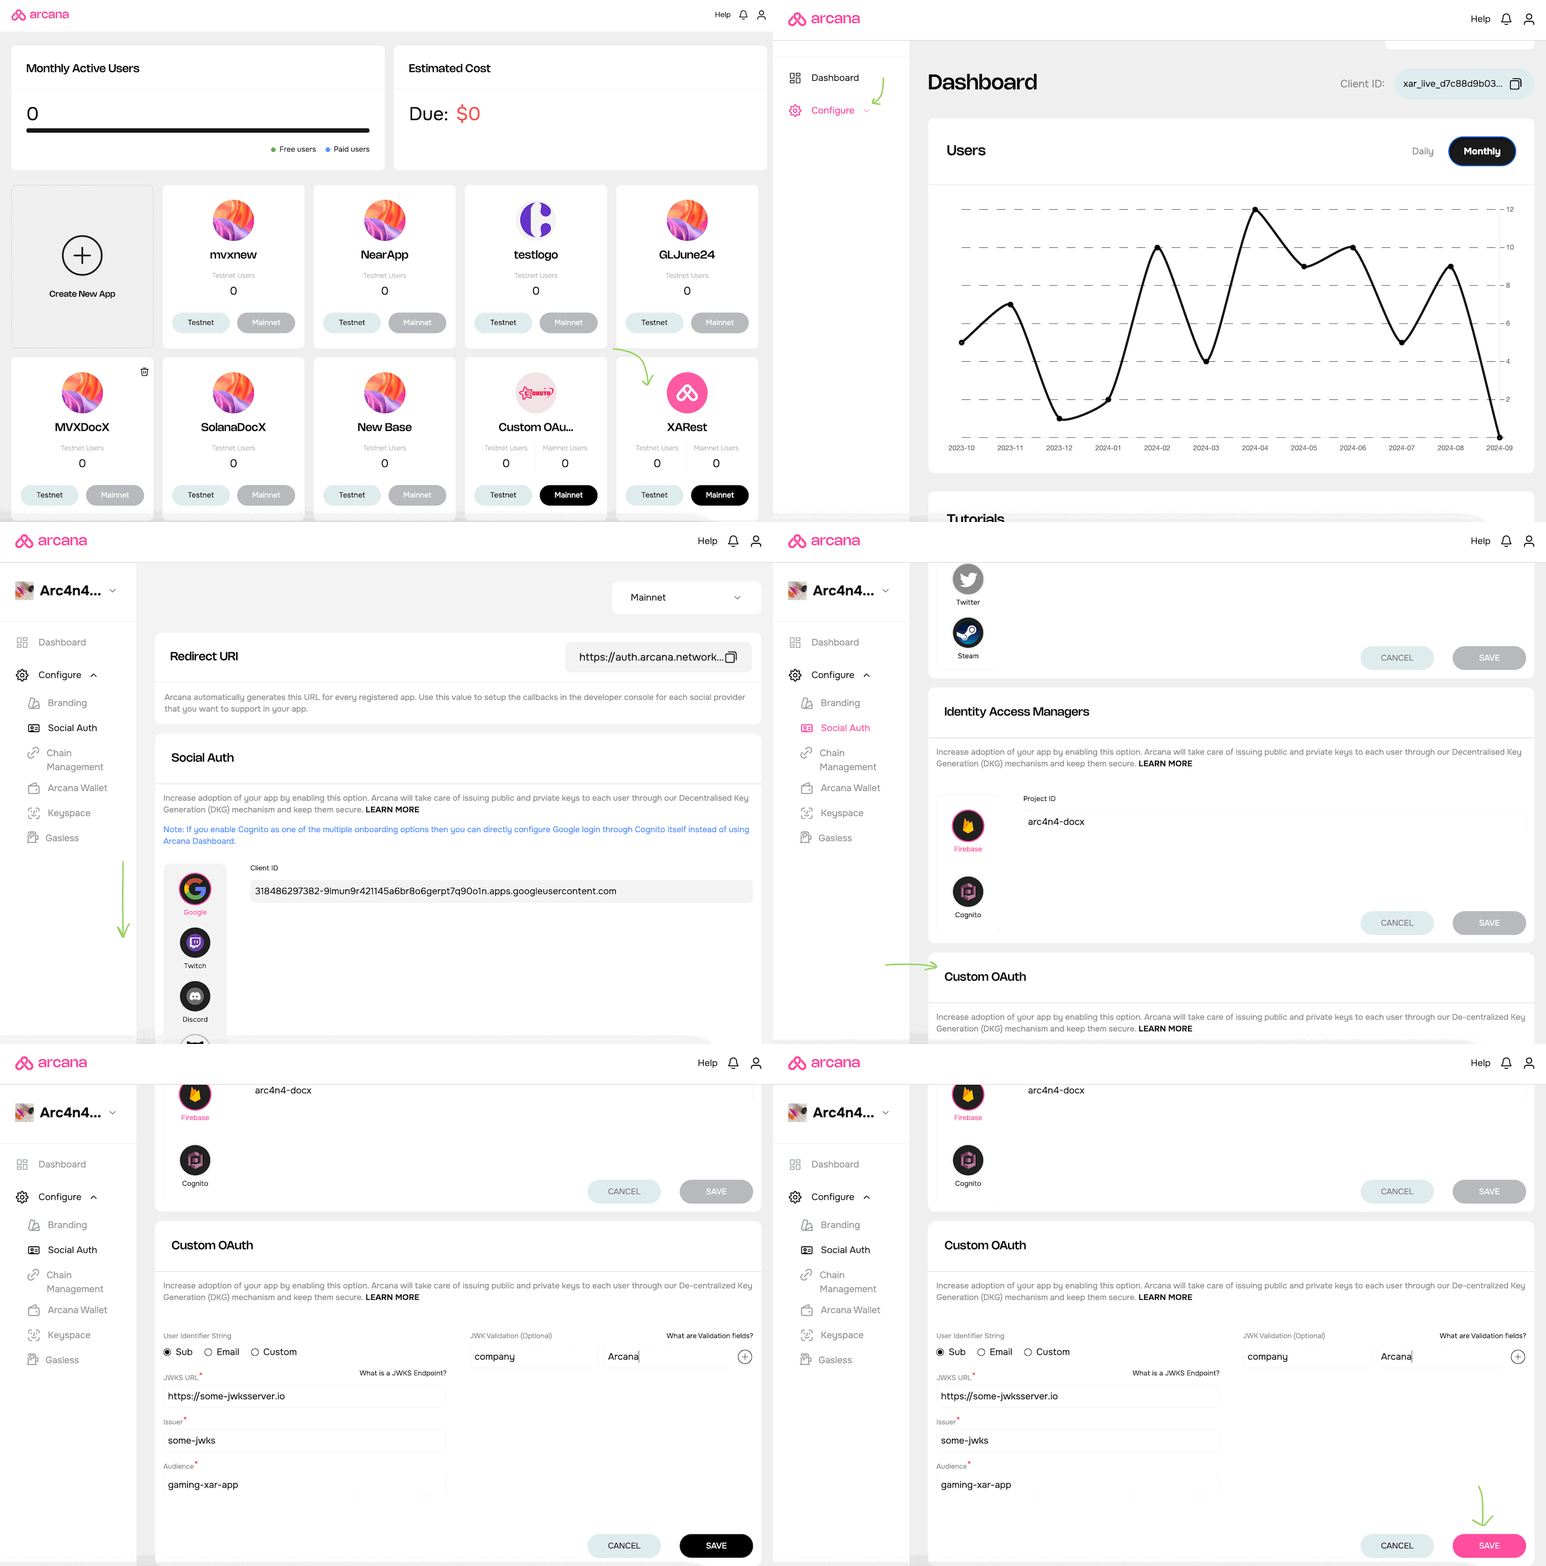
Log into the Arcana Developer Dashboard to register the app. Create a new app. Jump to the next section if the app is already registered.
2. Configure Custom Auth
In the 'Manage Apps' screen, click Configure in the LHS navigation. Select Social Auth and scroll down to the section Custom Auth.

Provide inputs for the Custom Auth settings:
- JWKS Endpoint: This is a read-only URL exposed by the Custom Auth server or any other server that manages the cryptographic keys or JSON Web Keys (JWK) as per the IETF RFC7517 standard.
- User Identifier String: Select the type of user identifier that the developer will share while integrating the app with the Arcana Auth SDK, as part of input parameters
CustomProviderParamsin theloginWithCustomProvider()function call. Choose one of thesub,emailor acustomstring. - Issuer: A string identifier representing the principal who issued the JWT.
- Audience: A string identifier representing the recipient that the JWT is intended for.
- JWT Validation (Optional): Specify one or more key, value pairs of attributes/claims that can be used to verify the JWT provided as the input parameter
CustomProviderParamsin theloginWithCustomProvider()function call.
Click Save after specifying the Custom Auth settings in the dashboard.
3. Get Custom Provider ID
In addition to the Client ID, every registered app configured for using Custom Auth is also allocated a unique custom provider identifier. It is displayed in the dashboard once the Custom Auth settings are updated. Make a note of the custom provider identifier.
Both, the Client ID assigned to the app after registration and the custom provider identifier is required later for integrating the app using Custom Auth with the Arcana Auth SDK.
What's Next?
After configuring, integrate the Web3 app using Custom Auth with the Auth SDK, use loginWithCustomProvider to assign keys to authenticated users securely. Then use the AuthProvider to issue JSON/RPC functions and Web3 wallet operations from within the app context.